Quicko AI is a software-as-a-service (SaaS) platform that empowers its users with
cutting-edge OpenAI Artificial Intelligence technology, enabling them to effortlessly create unique content and images. With Quicko AI, users can generate new, original content that is free of plagiarism, as well as improve existing content in multiple languages.
Start#
Website Setup#
How to set up QuickoAI website on your server?
Step 1:
Step 1: Unzip and upload only the contents of quicko.zip to the root directory of your server. For example: /var/www/html/ or /home/yourusername/public_html or whatever is the root folder of your domain or subdomain. Which will make it reachable as follows: http://yourdomain.com
Step 2:
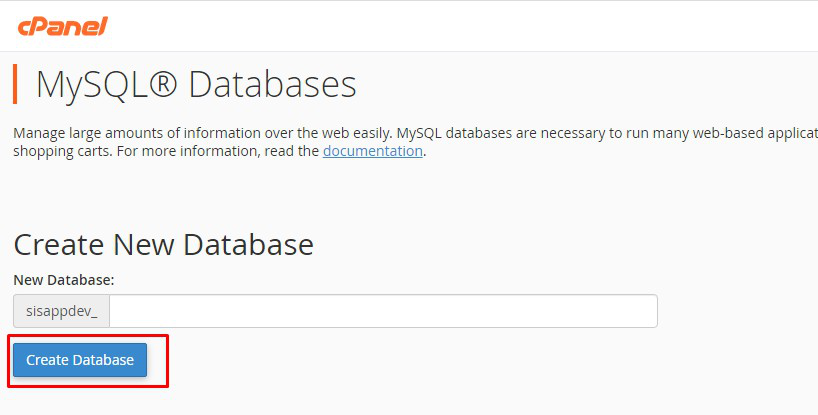
Create a new database from your server MYSQL database
Step 3:
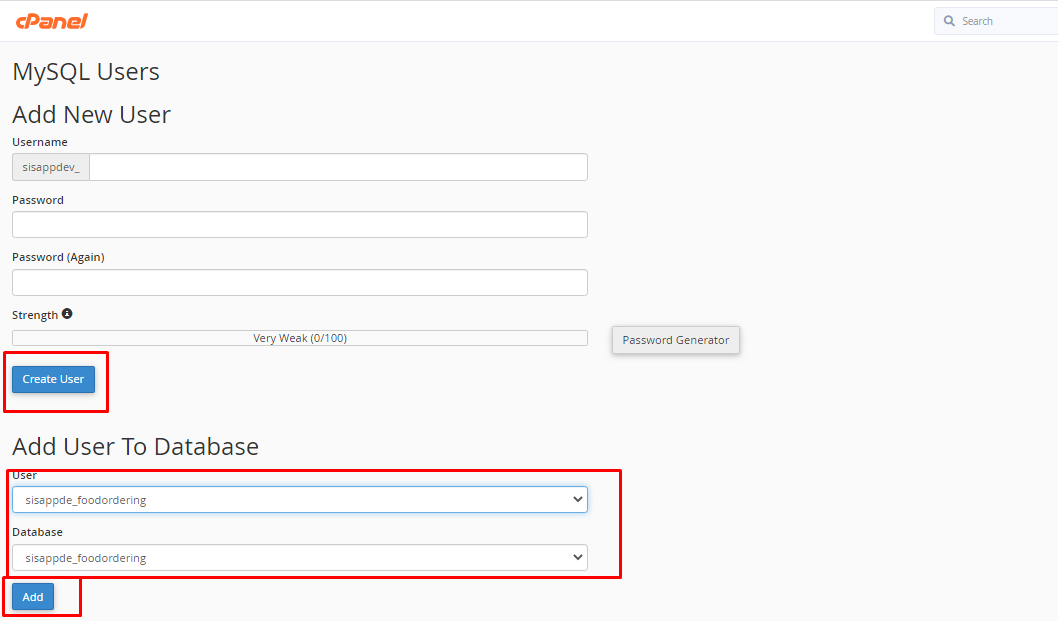
Create a DB user to the database and link that database to the DB user
Step 4:
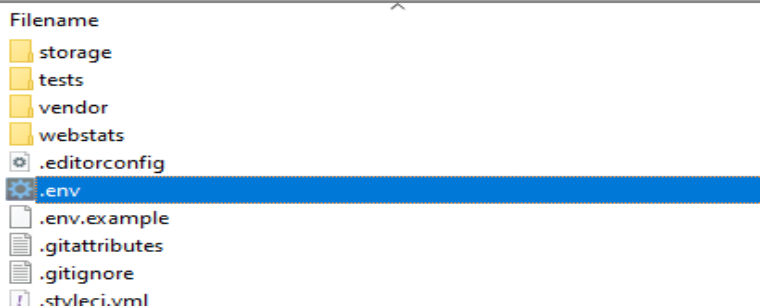
Update your database credentials (DB_DATABASE, DB_USERNAME &DB_PASSWORD) to.env file which exist at root path of admin panel
Step 5:
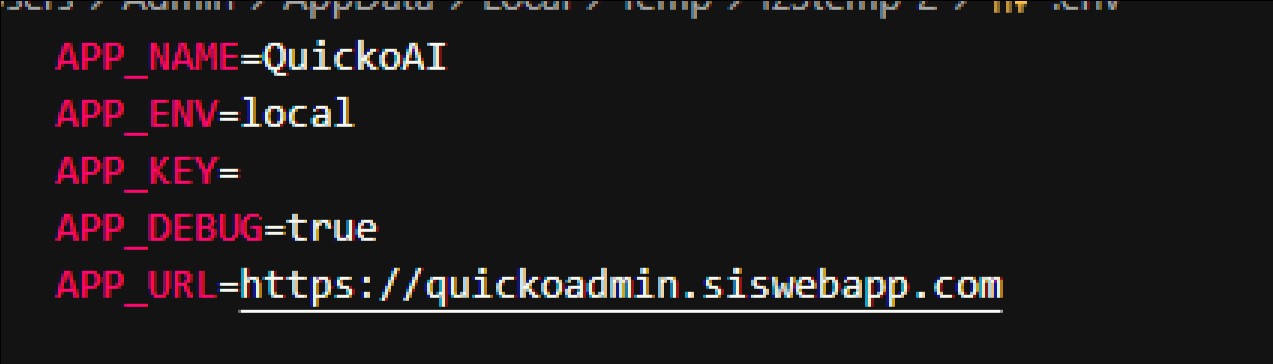
Update your APP_NAME & APP_URL In .env file
Step 6:
Run the following commands from your project root terminal
php artisan key:generate
php artisan migrate
php artisan permission:create-permission-routes
php artisan db:seed –class=FreshInstallationSeeder
Important Note:
Above all commands are compulsory to run one by one.
Now you can access your website at your desired domain.
Instructions & Guidelines#
How to set up QuickoAI Admin on your server?
Step 1:
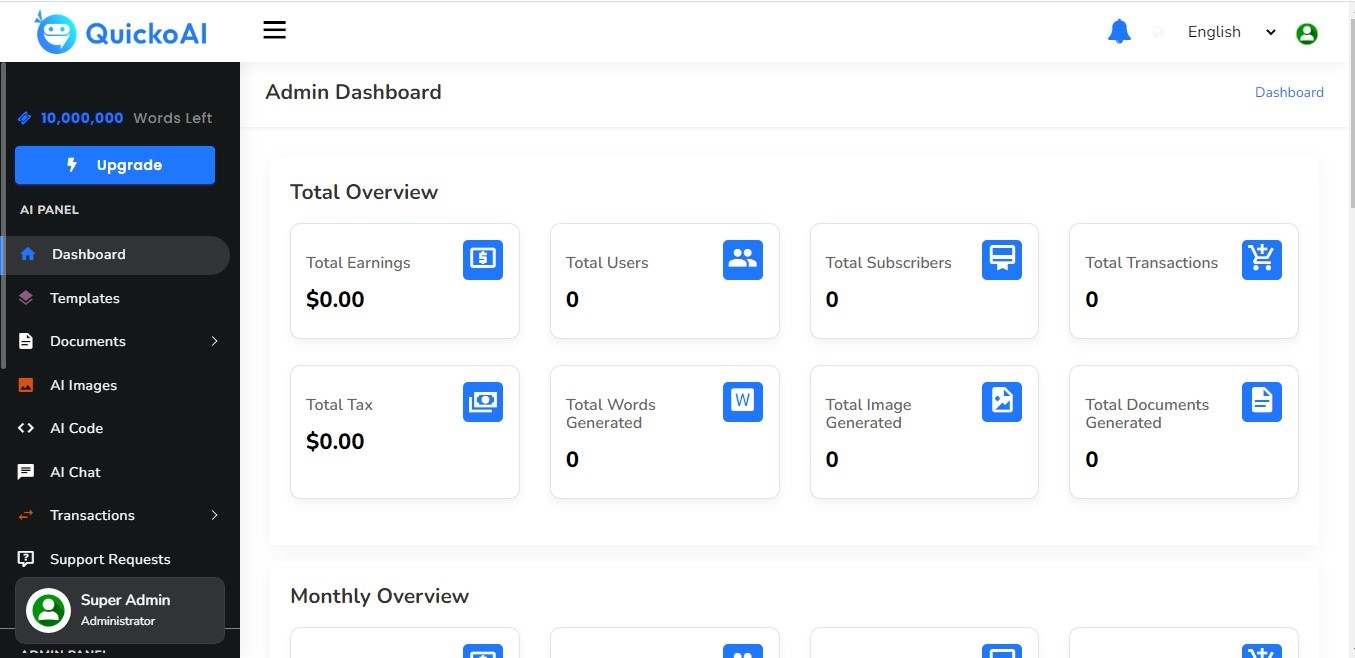
You can now login with admin user with following credentials and your
dashboard looks like as per following snap.
Email: admin@quicko.com
Password: 12345678
Step 2:
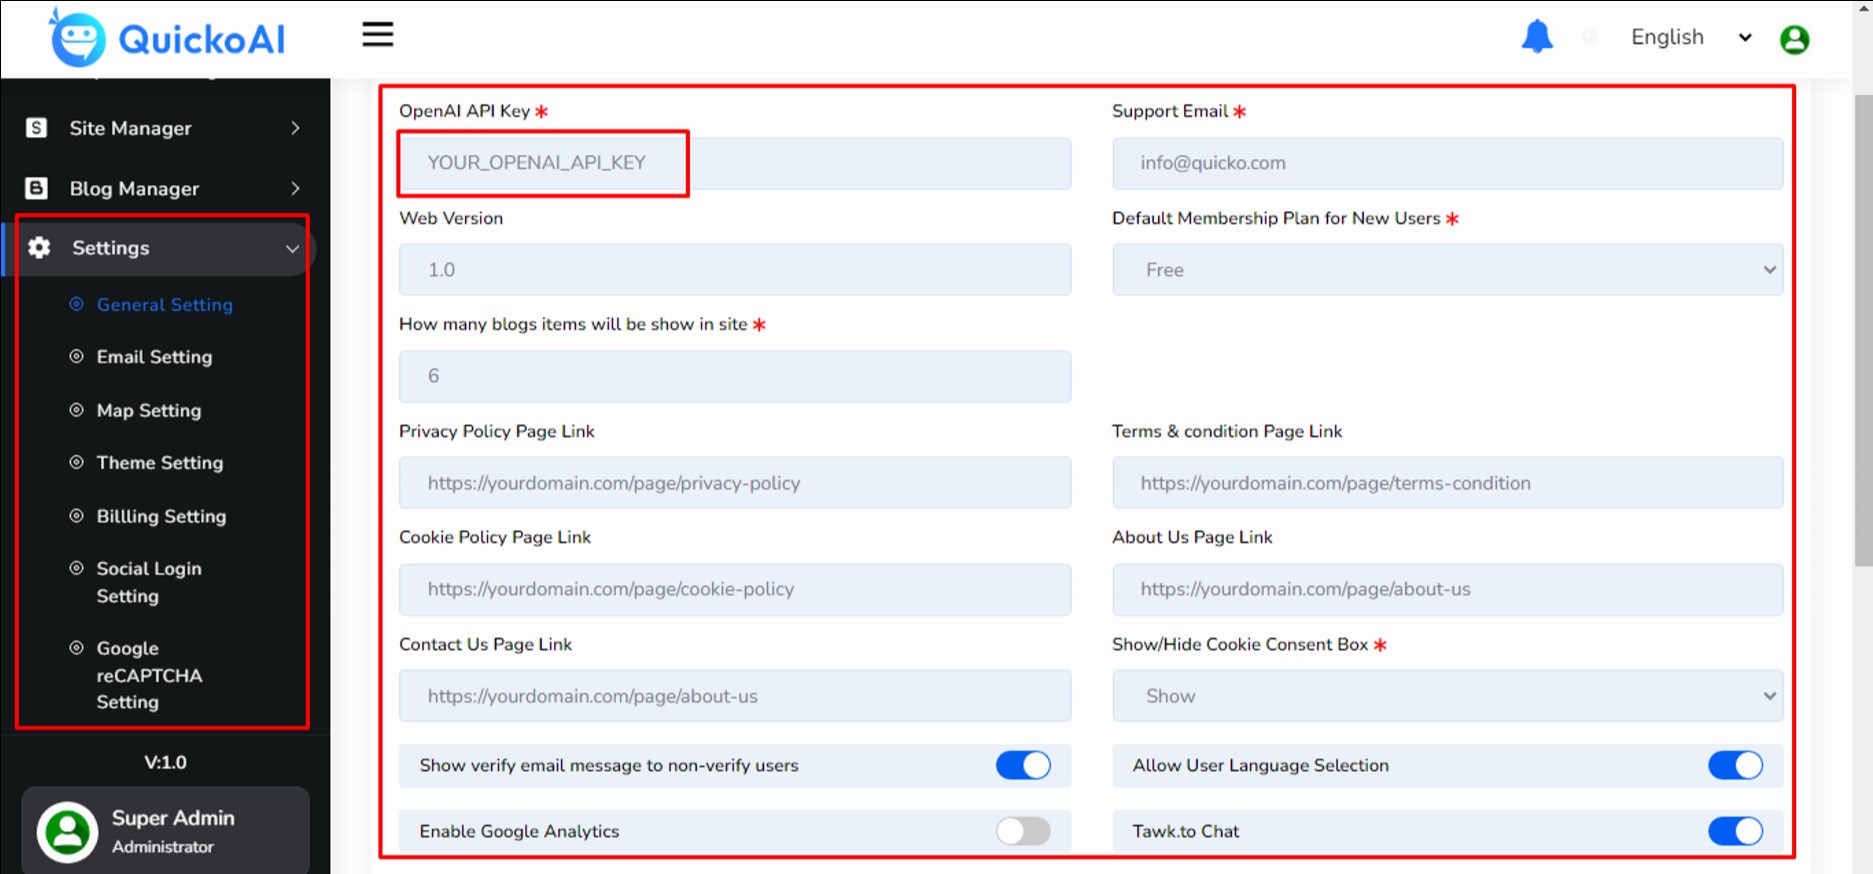
Please add your OPENAI_API_KEY and other settings details properly otherwise your system will not work properly.
Step 3:
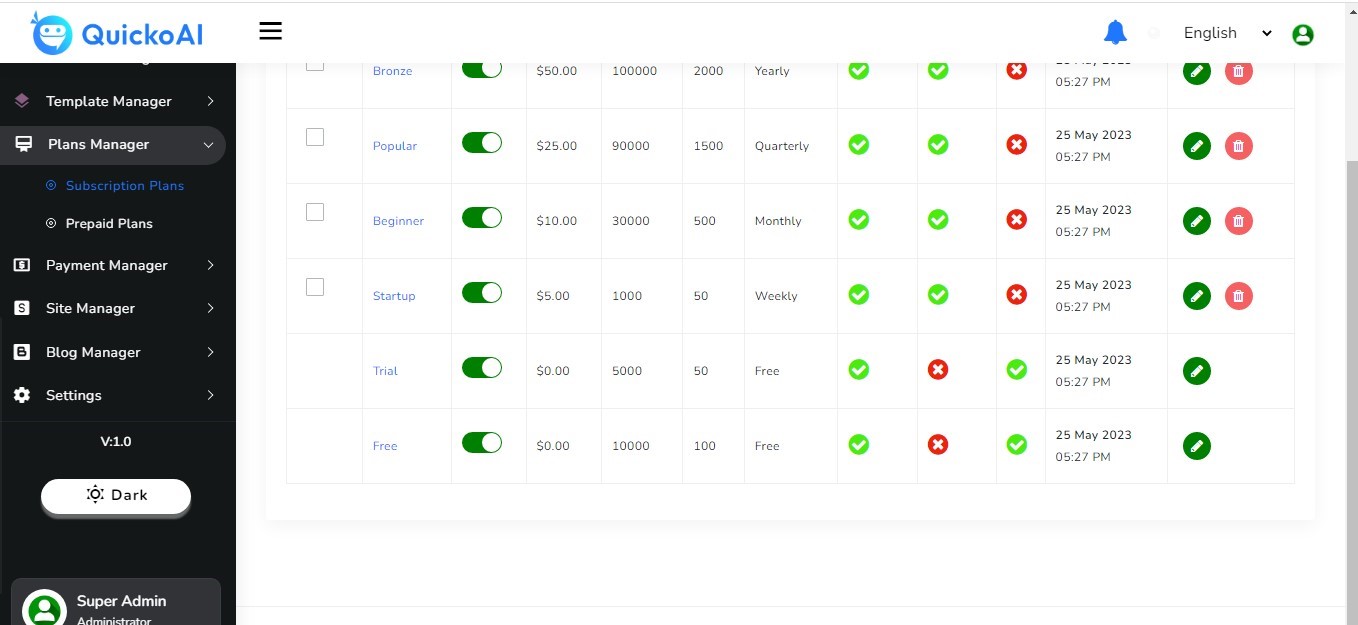
We are providing some default prepaid and subscription plans for users, you can
also create new plans and update existing plans.
Important Note:
The Free & Trial plan is default free plan type for users which are not deletable.
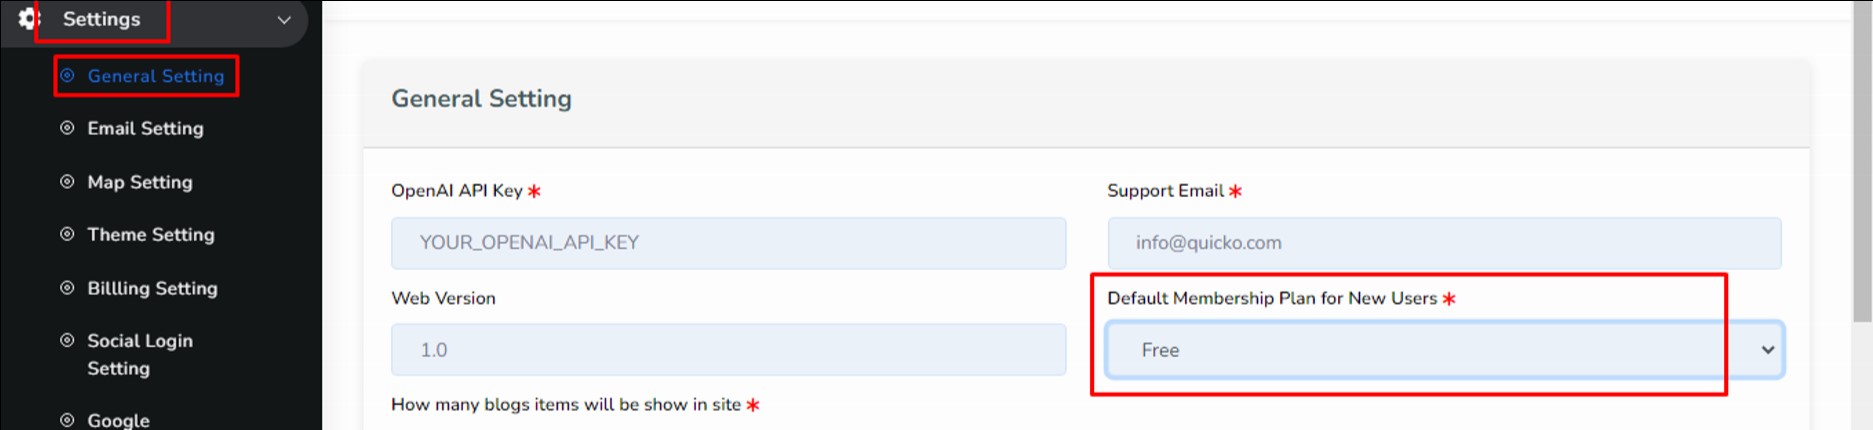
Also you can choose a default plan for users when they register on the site.
Find setting at : Settings > General Settings > Default Membership Plan for New Users
Step 4:
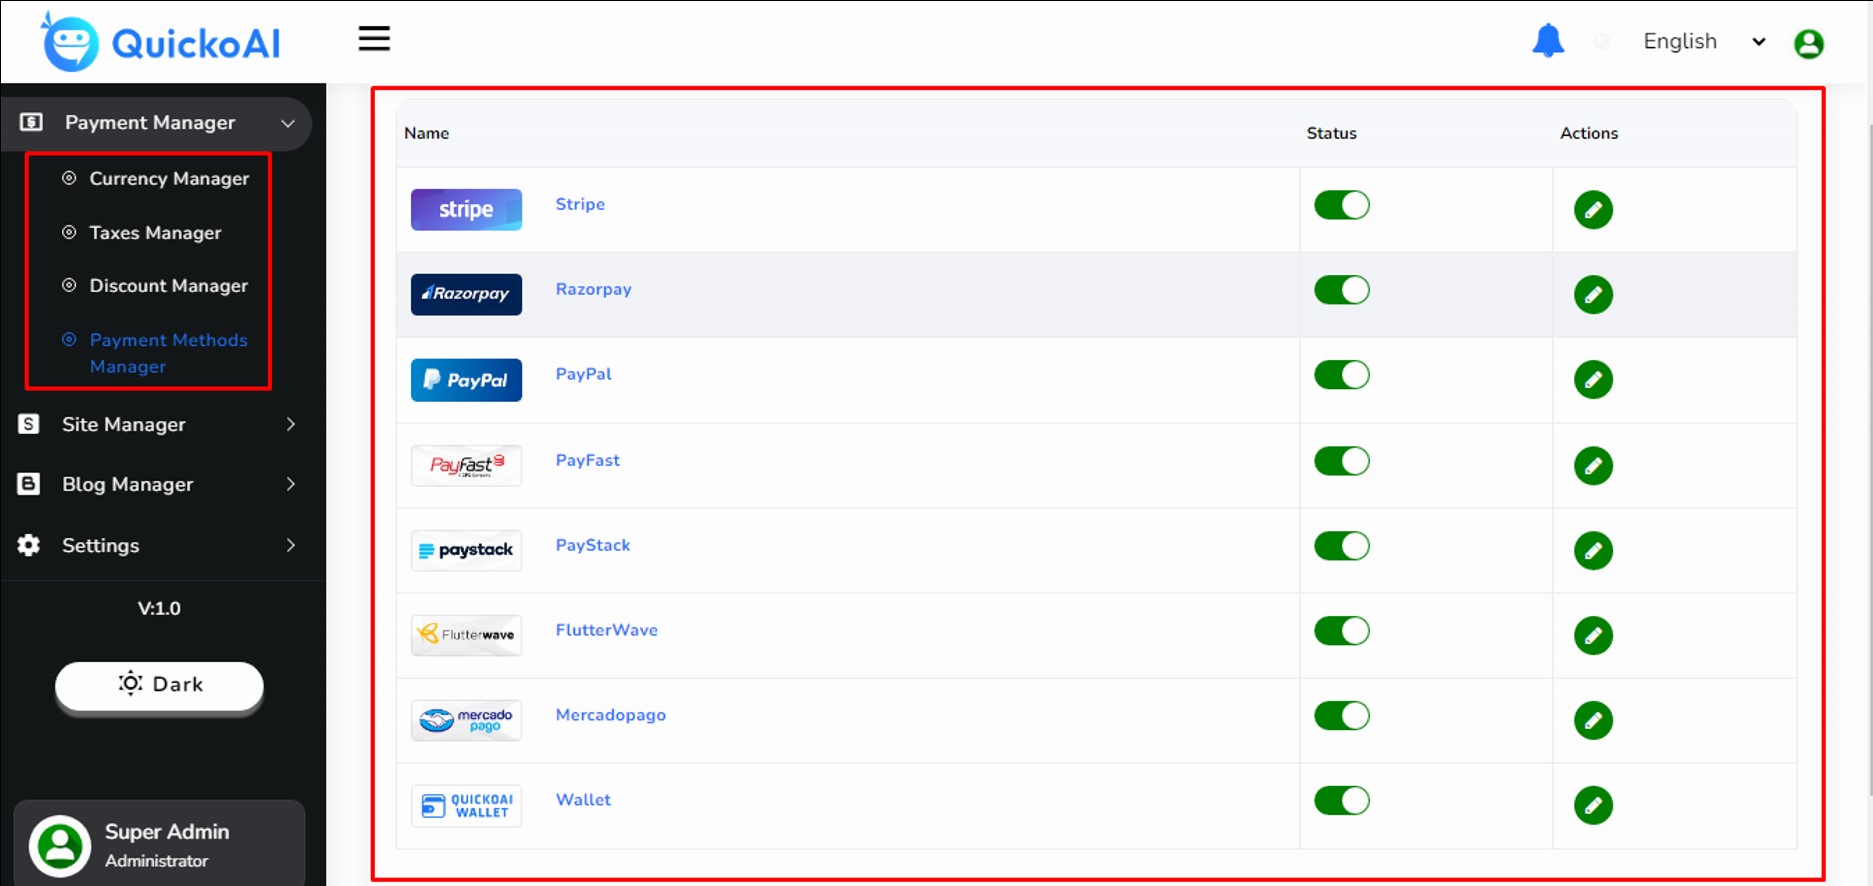
Please add your PAYMENT METHODS credentials properly otherwise your subscription purchase will not work.
Also you can add your taxes & discount and it will apply to subscription purchase
Step 5:
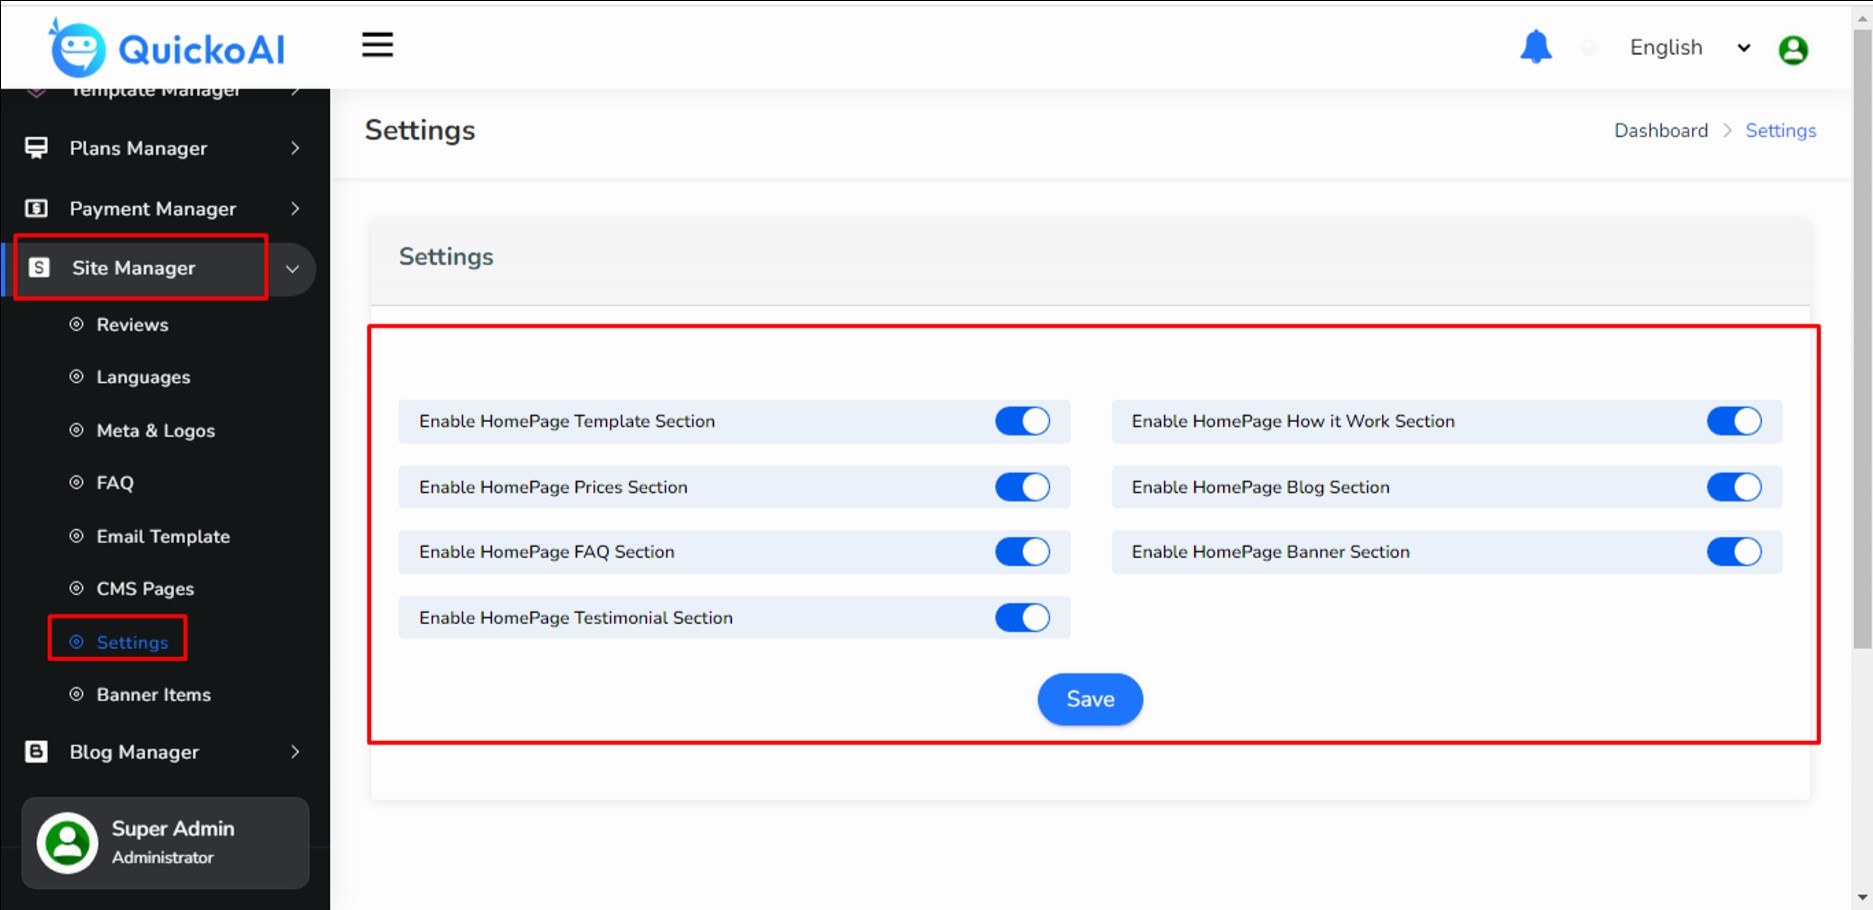
You can enable/disable sections of the homepage by setting in site manager.
Step 6:
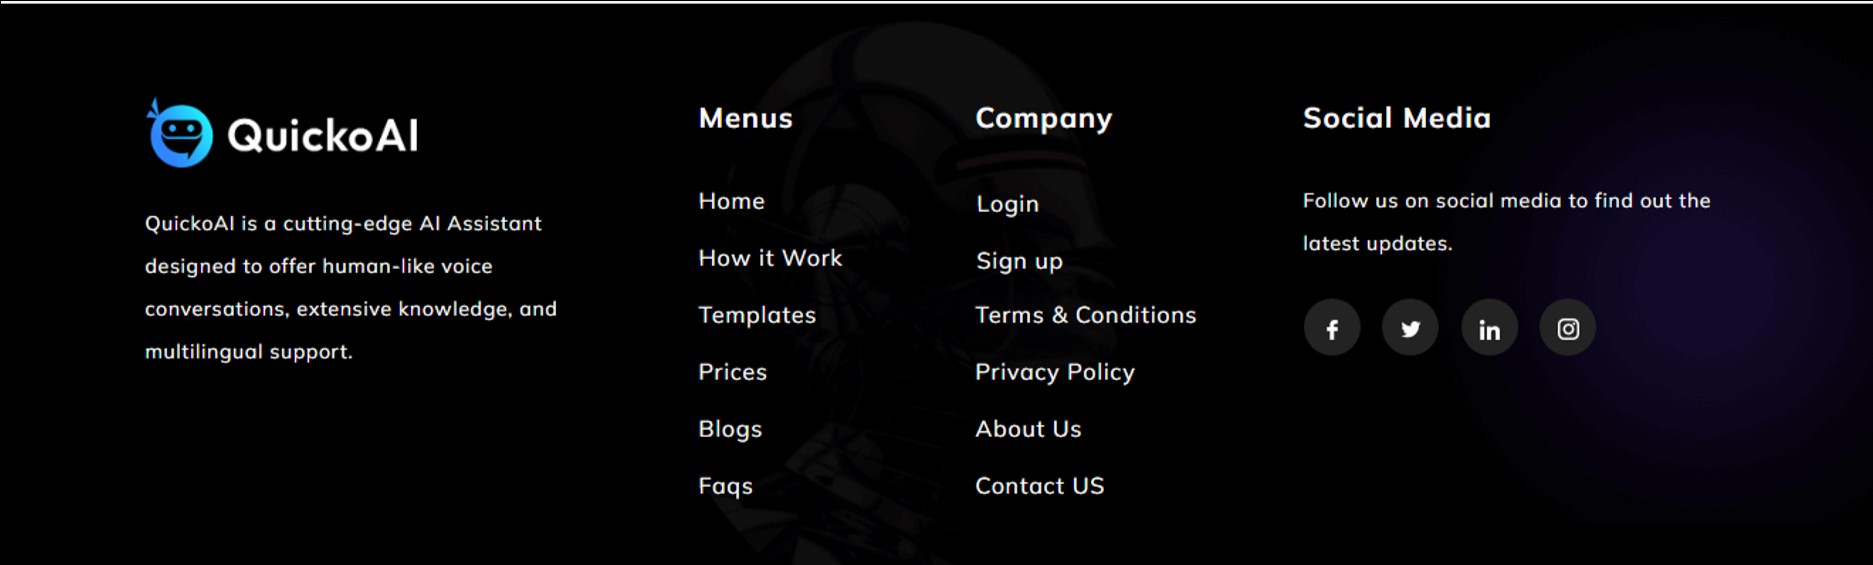
You can update header/footer sections by adding the following files
a. root_path/resources/views/layouts/front/header.php

b. root_path/resources/views/layouts/front/footer.php
Step 7:
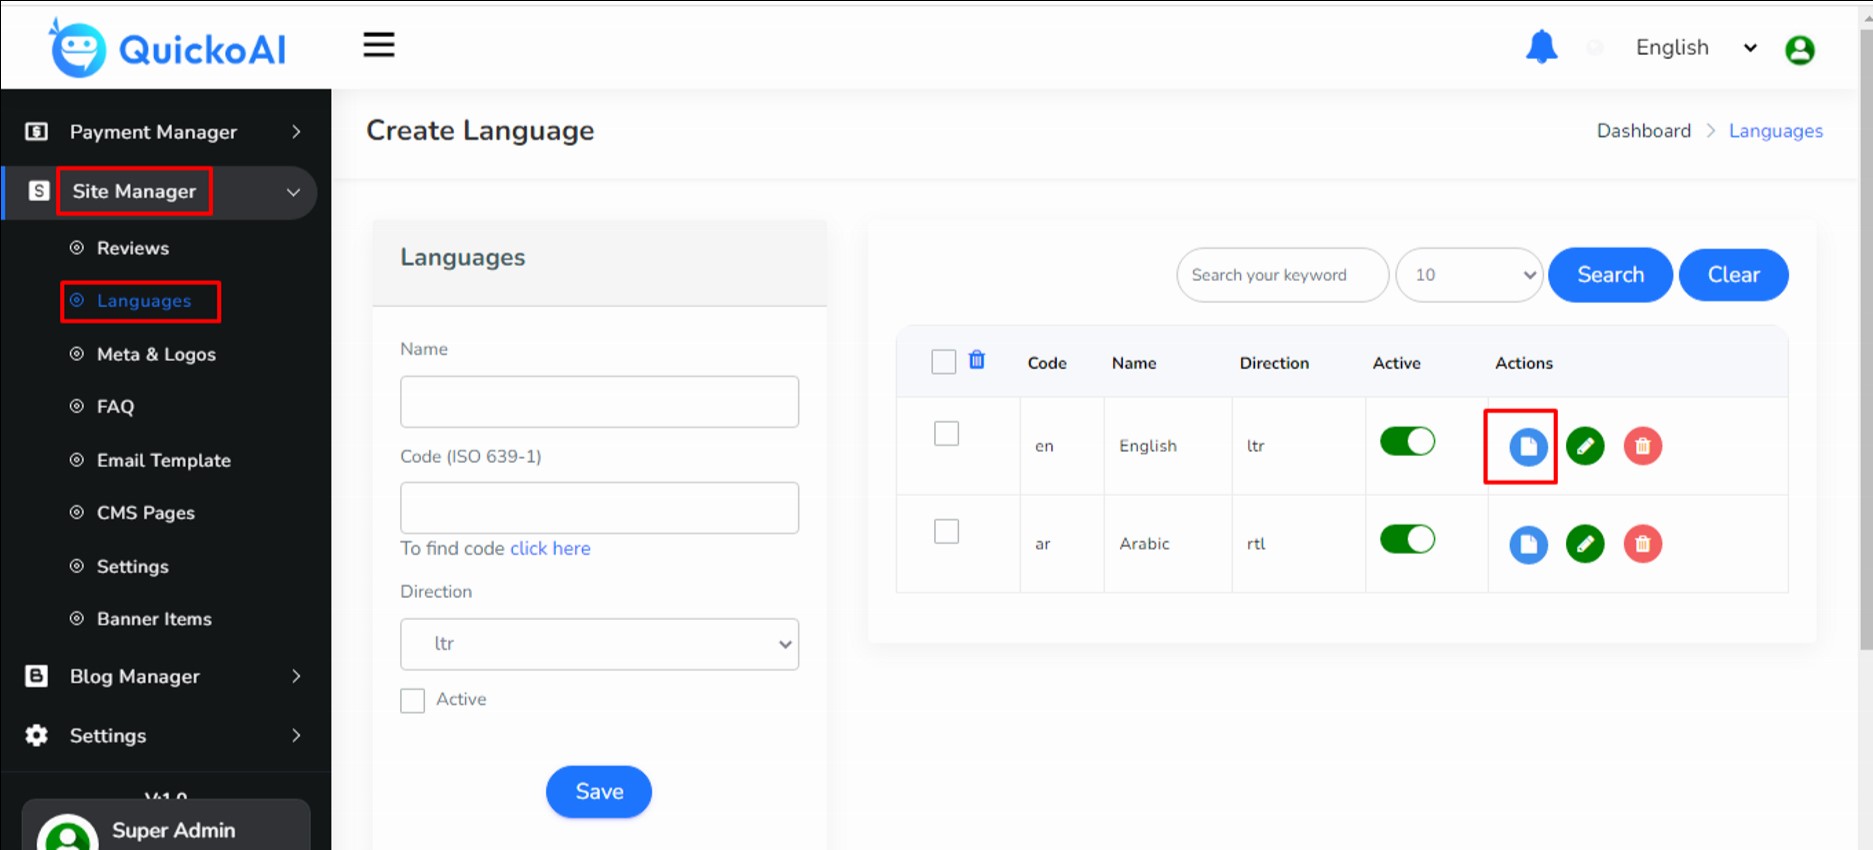
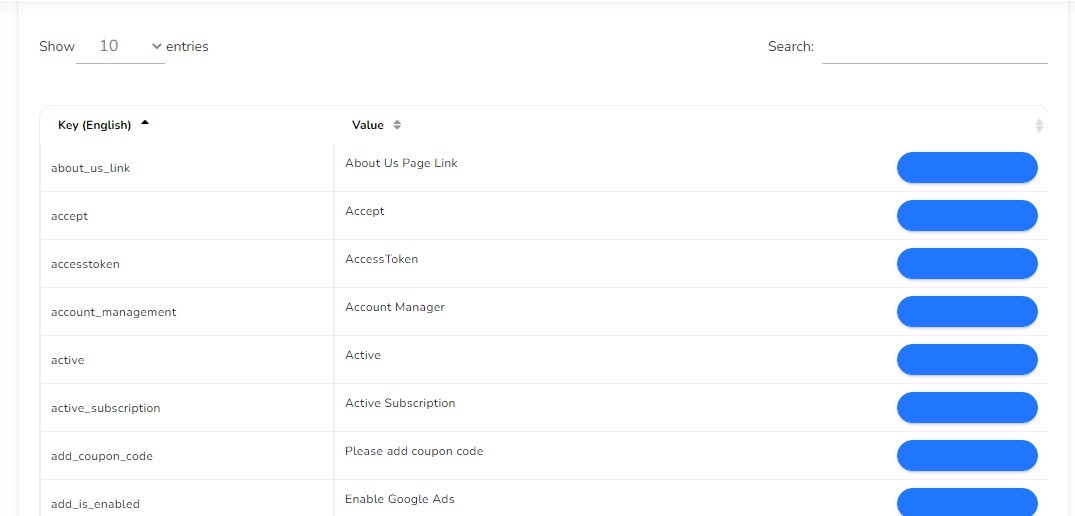
You can translate your text by language manager.
Step 8:
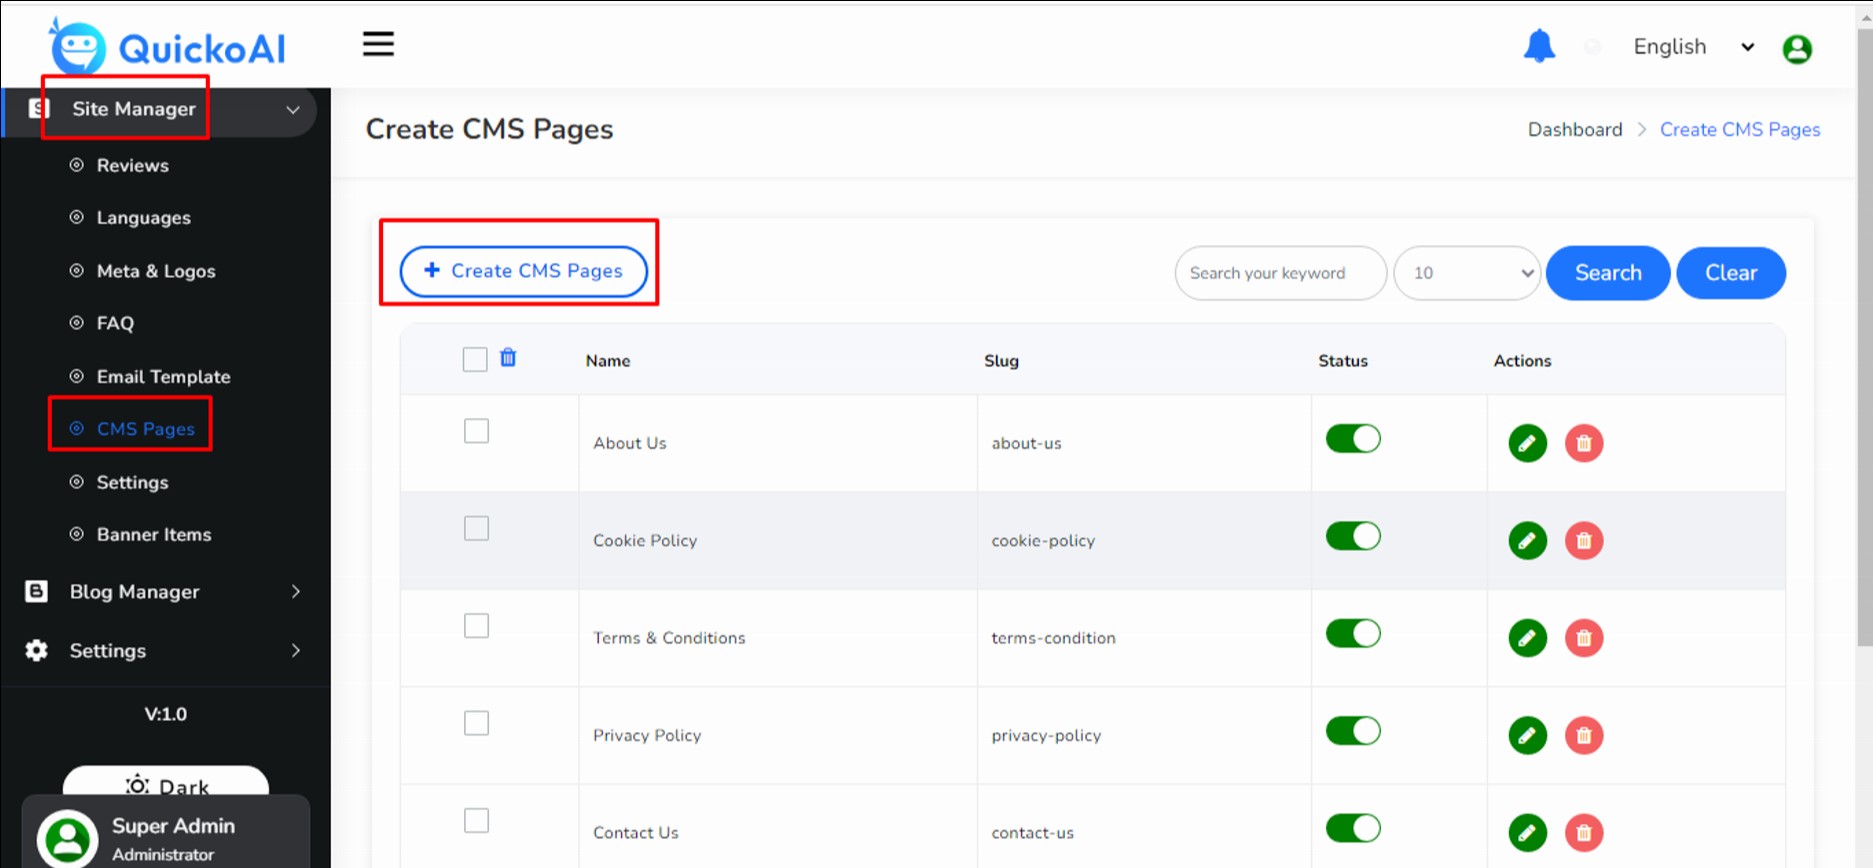
You can also create your custom CMS pages and add created link to your menu
or whenever you want to add.
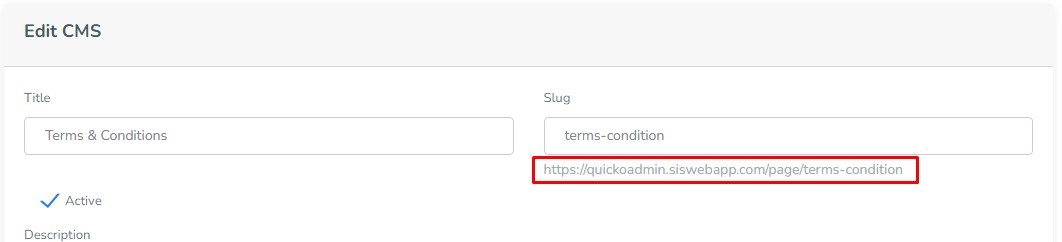
Like Terms & Condition page url is: http://yourdomain.com/page/terms-condition And this url you can add anywhere same for other CMS pages.
Step 9:
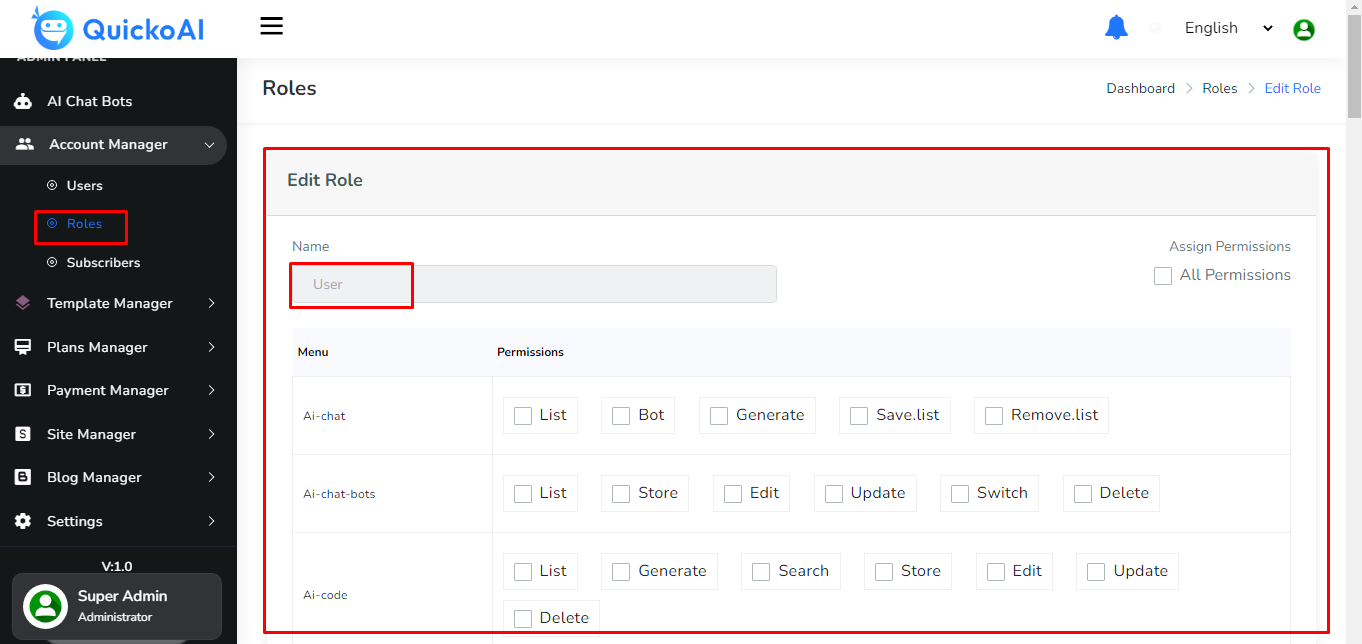
Please add “User” role permission otherwise the user can’t access the site properly.
Important Note:
Don’t add all permissions for “User” role (Recommended)