3. Create Firebase Project
3.1 : Go to firebase console through this link: https://firebase.google.com
3.2 : Click on “Go to console” in the top right corner.

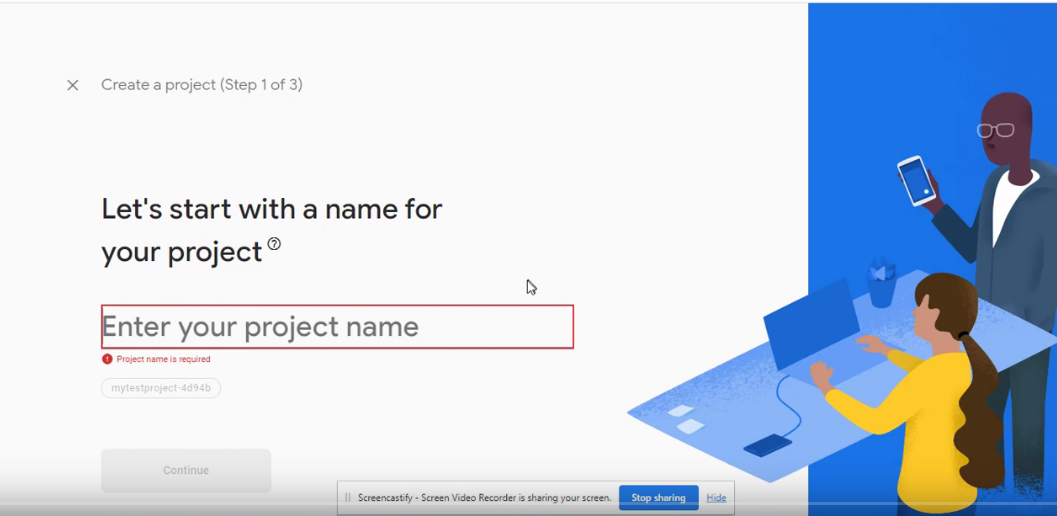
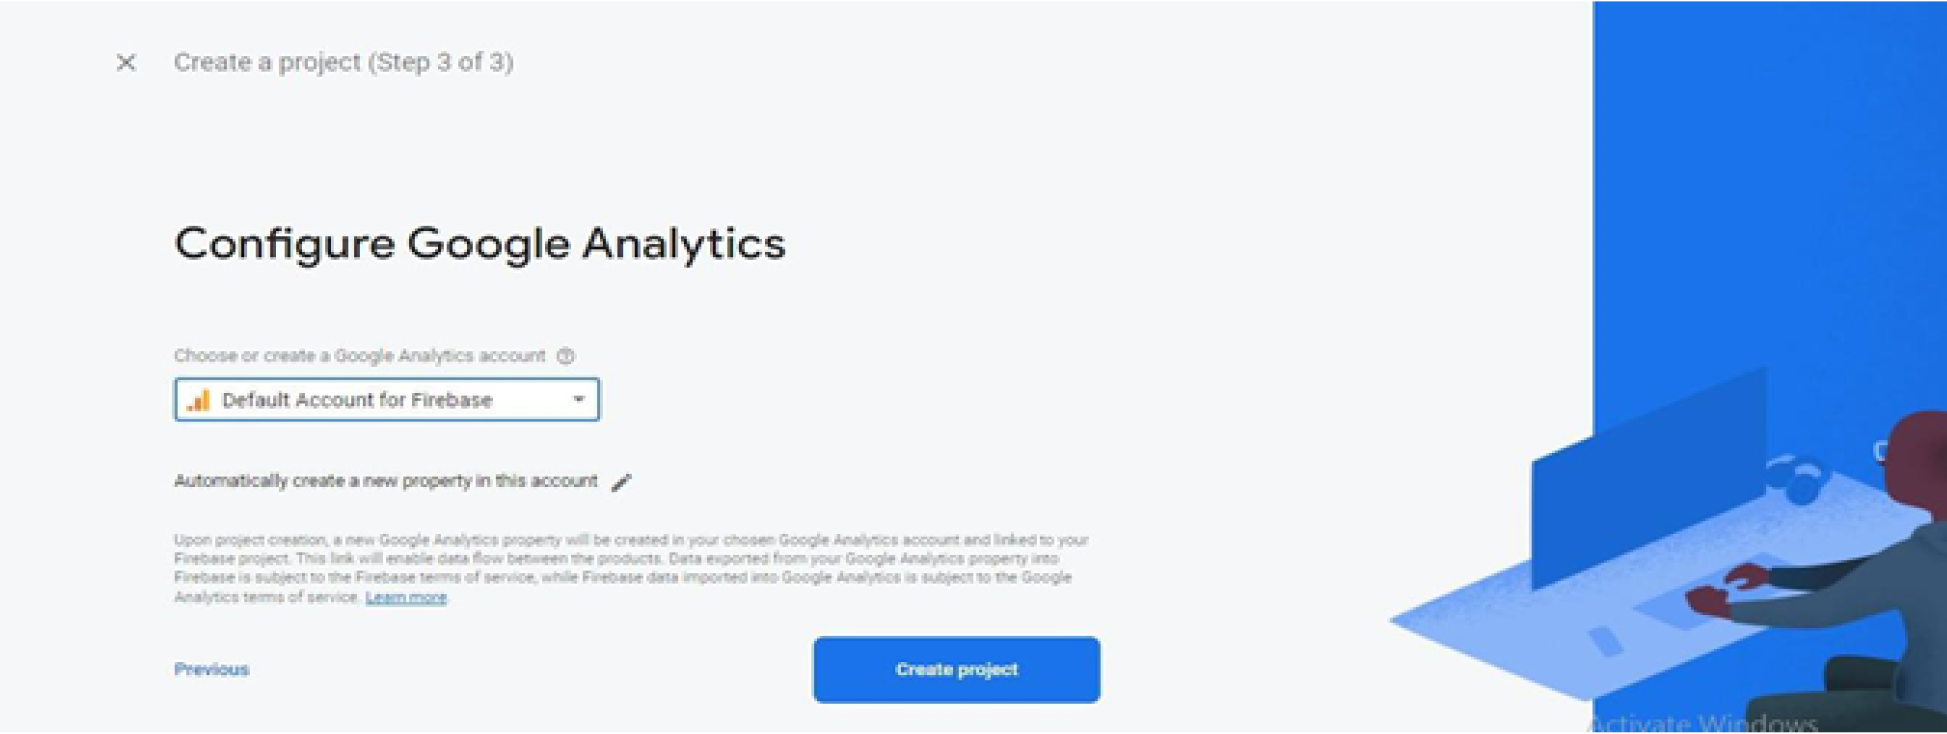
3.3 : Click on “Add project”, it will redirect you to the new project creation page Enter your project name and click on “Continue” again click on “Continue” after that select “Default Account fo firebase” and then click on “Create Project”
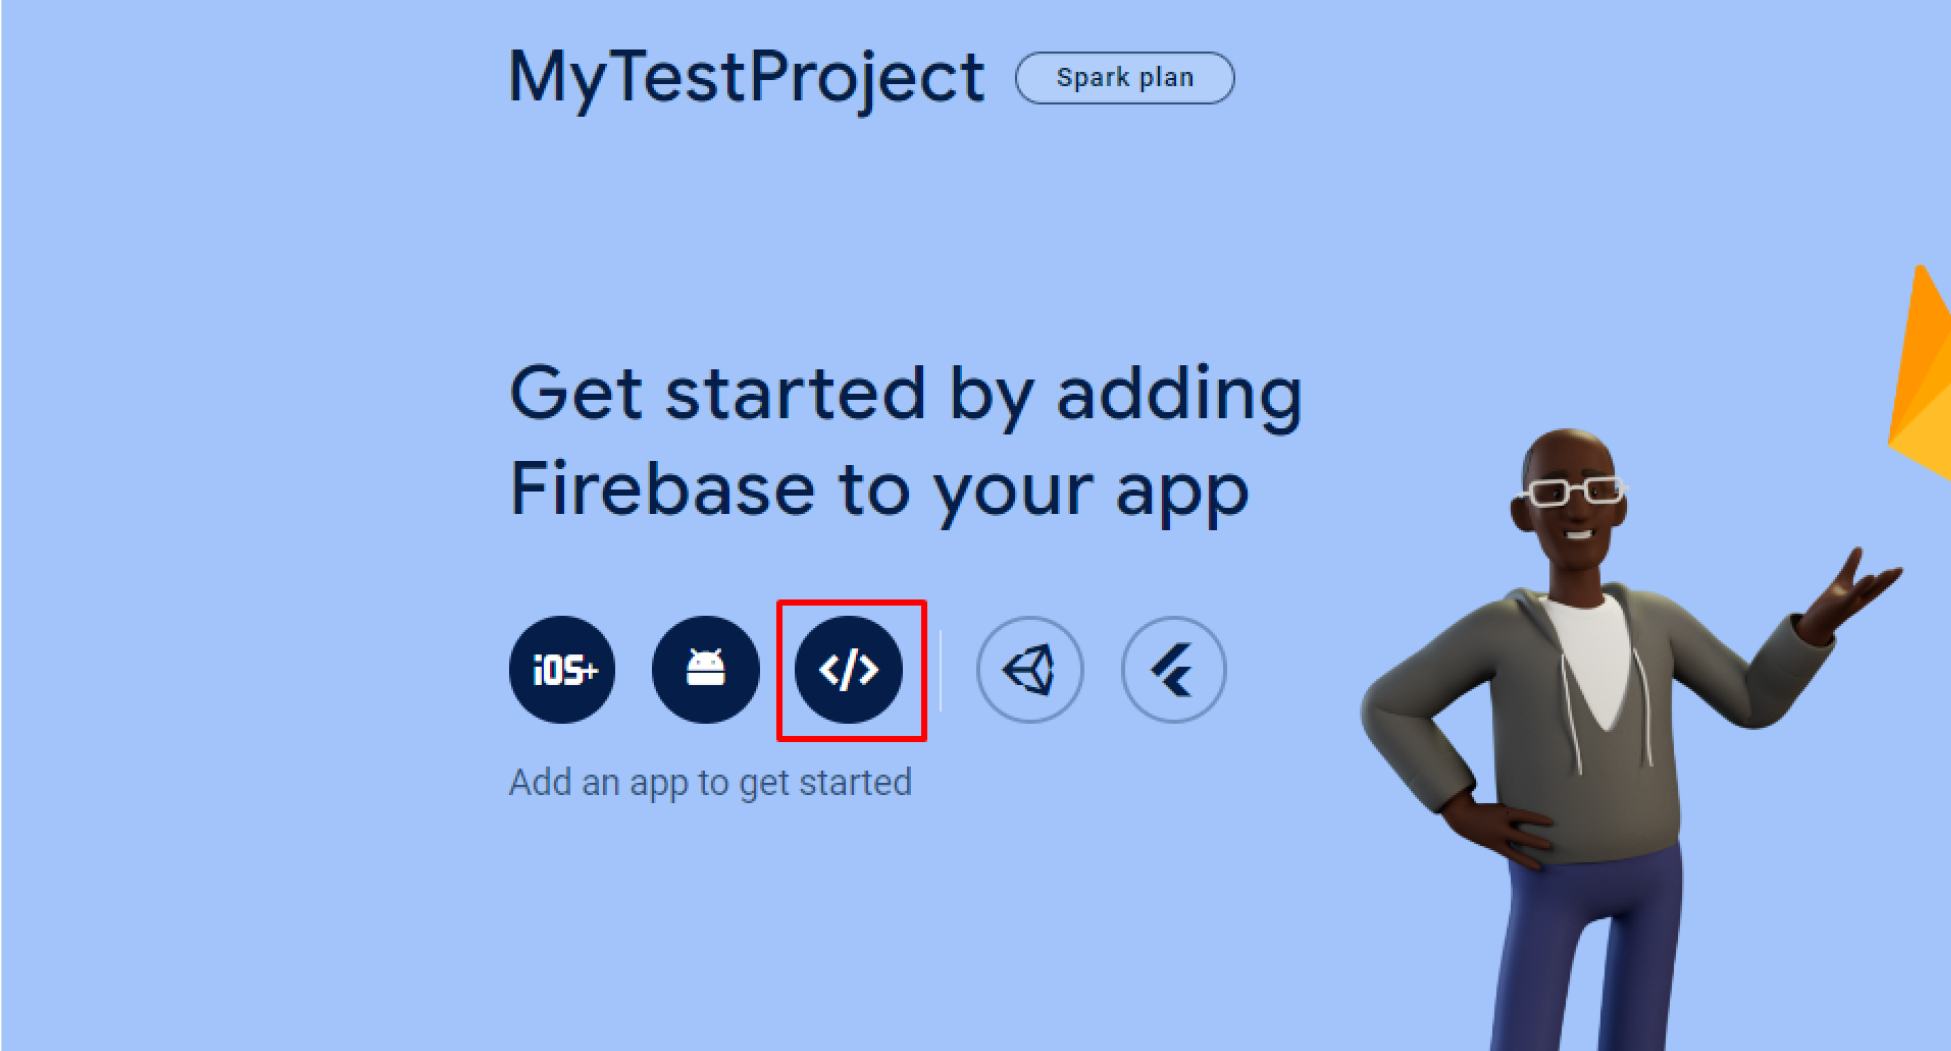
3.4 : After successfully creating a new project, you will be directed to the overview page. From there, simply navigate to the icons link to proceed further.
Upon redirection, you’ll land on the ‘Add Firebase to your web app’ page. Here, input your app’s nickname and proceed by clicking ‘Register app’. Afterward, scroll down to find detailed information as outlined below.
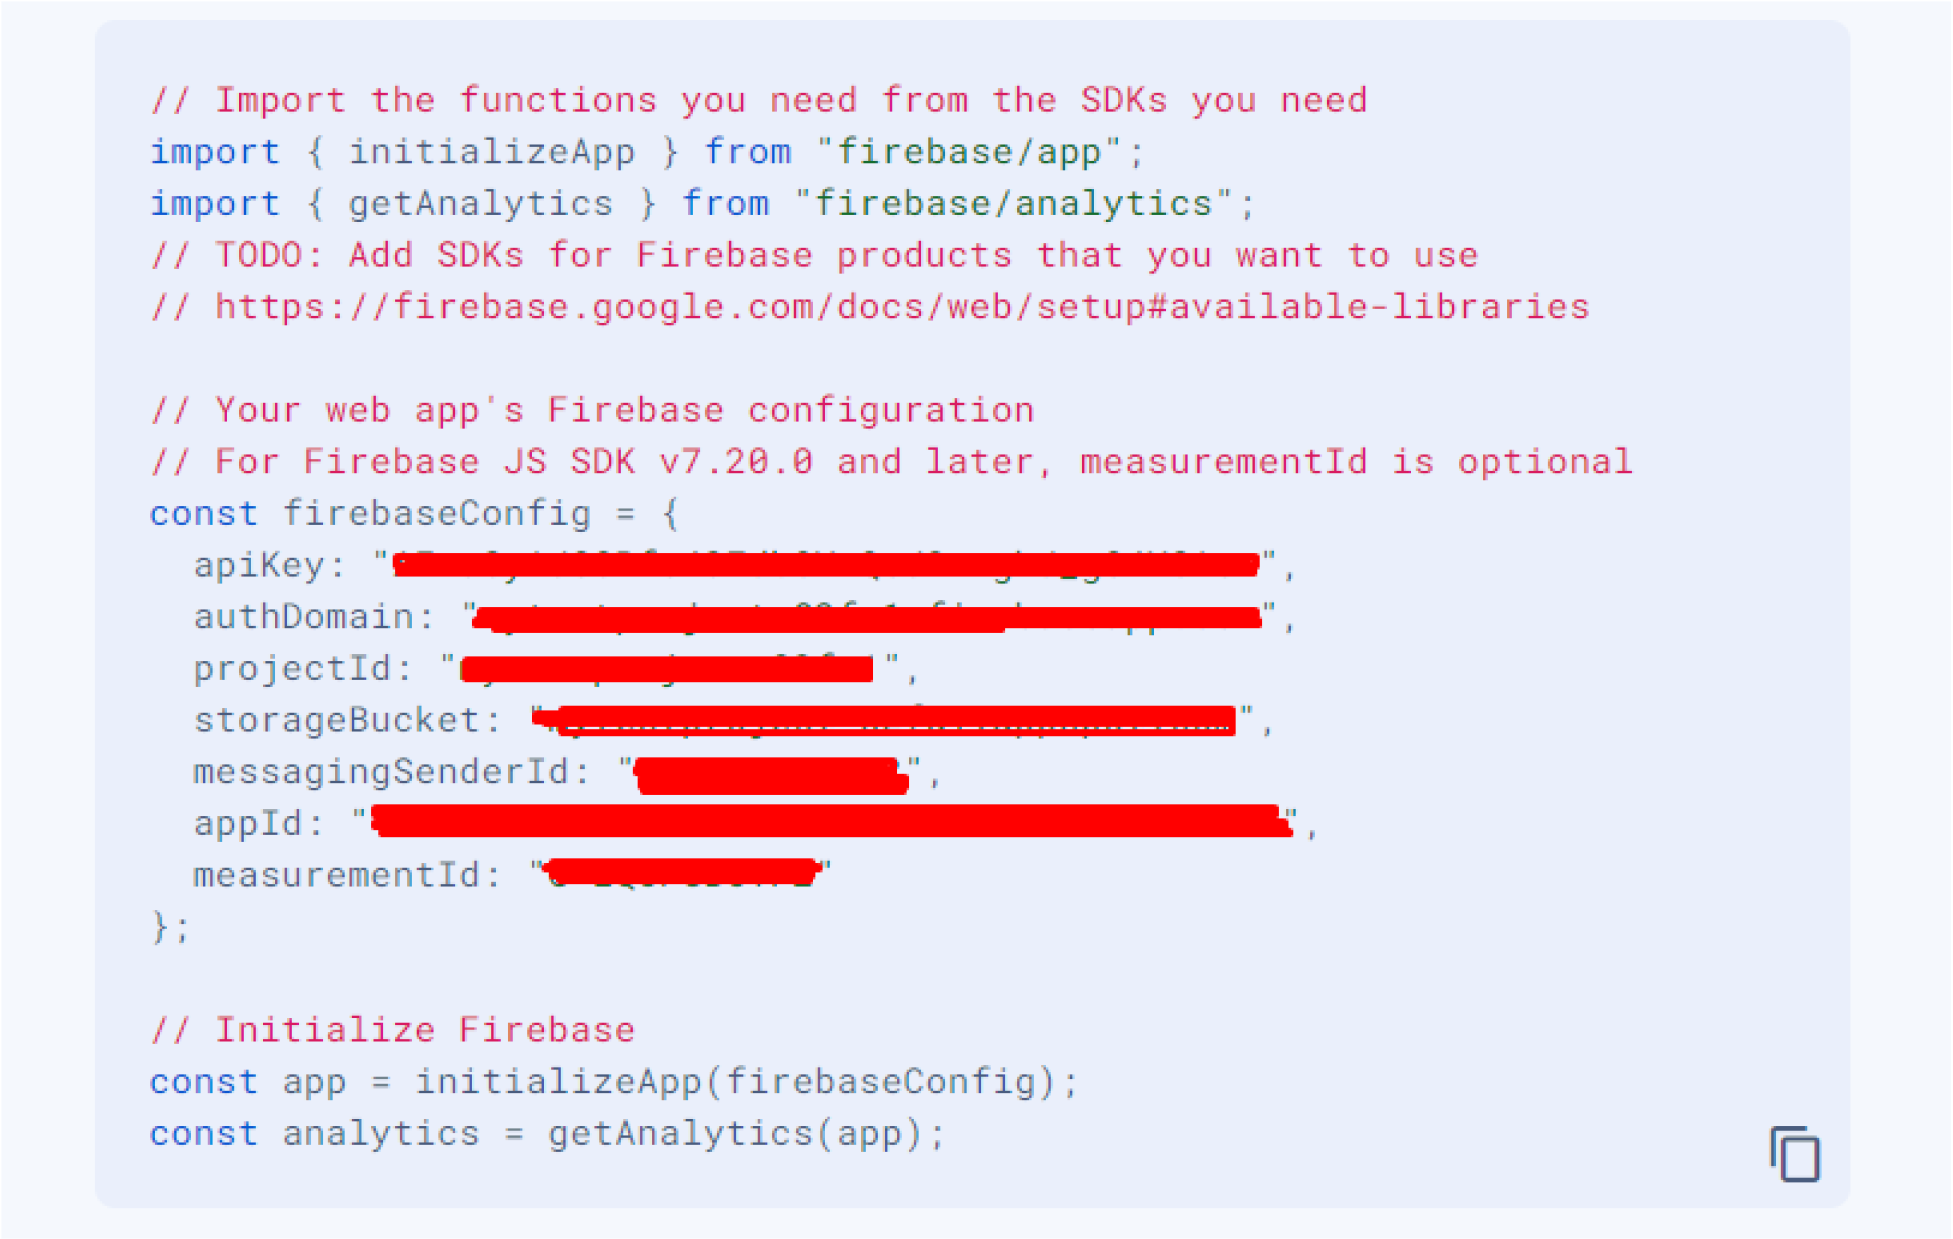
All of these details will be incorporated into both the app and admin panel documentation for comprehensive reference and seamless integration.
3.5 : Next, navigate to ‘Firestore Database’ in the left sidebar. Select your project name from the drop-down menu, and then proceed by clicking on ‘Create database’.
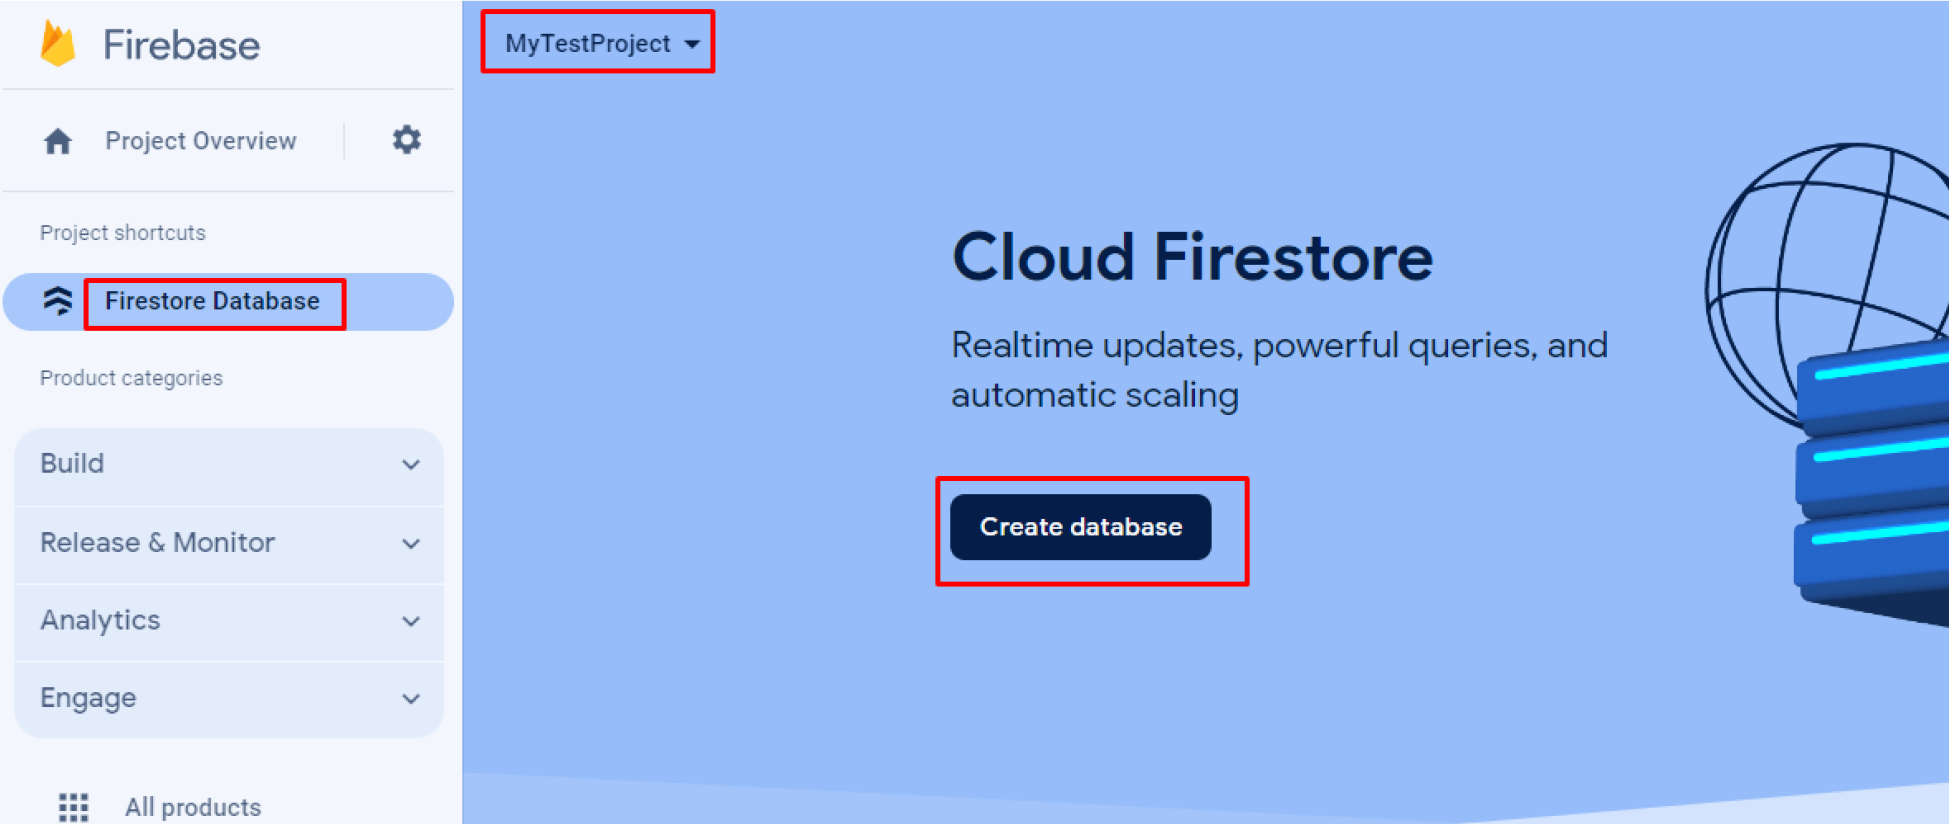
3.6 : Choose your preferred option and click on the ‘Next’ button. Subsequently, proceed by clicking on “Enable”
3.7 : Following that, locate “Realtime Database” in the left sidebar. Select your project name from the drop-down menu, and proceed by clicking on “Create Database”

3.8 : Choose your preferred option and proceed by clicking the “Next” button, then click on “Enable” to activate the selected feature.
3.9 : Firstore Database Rules Update.
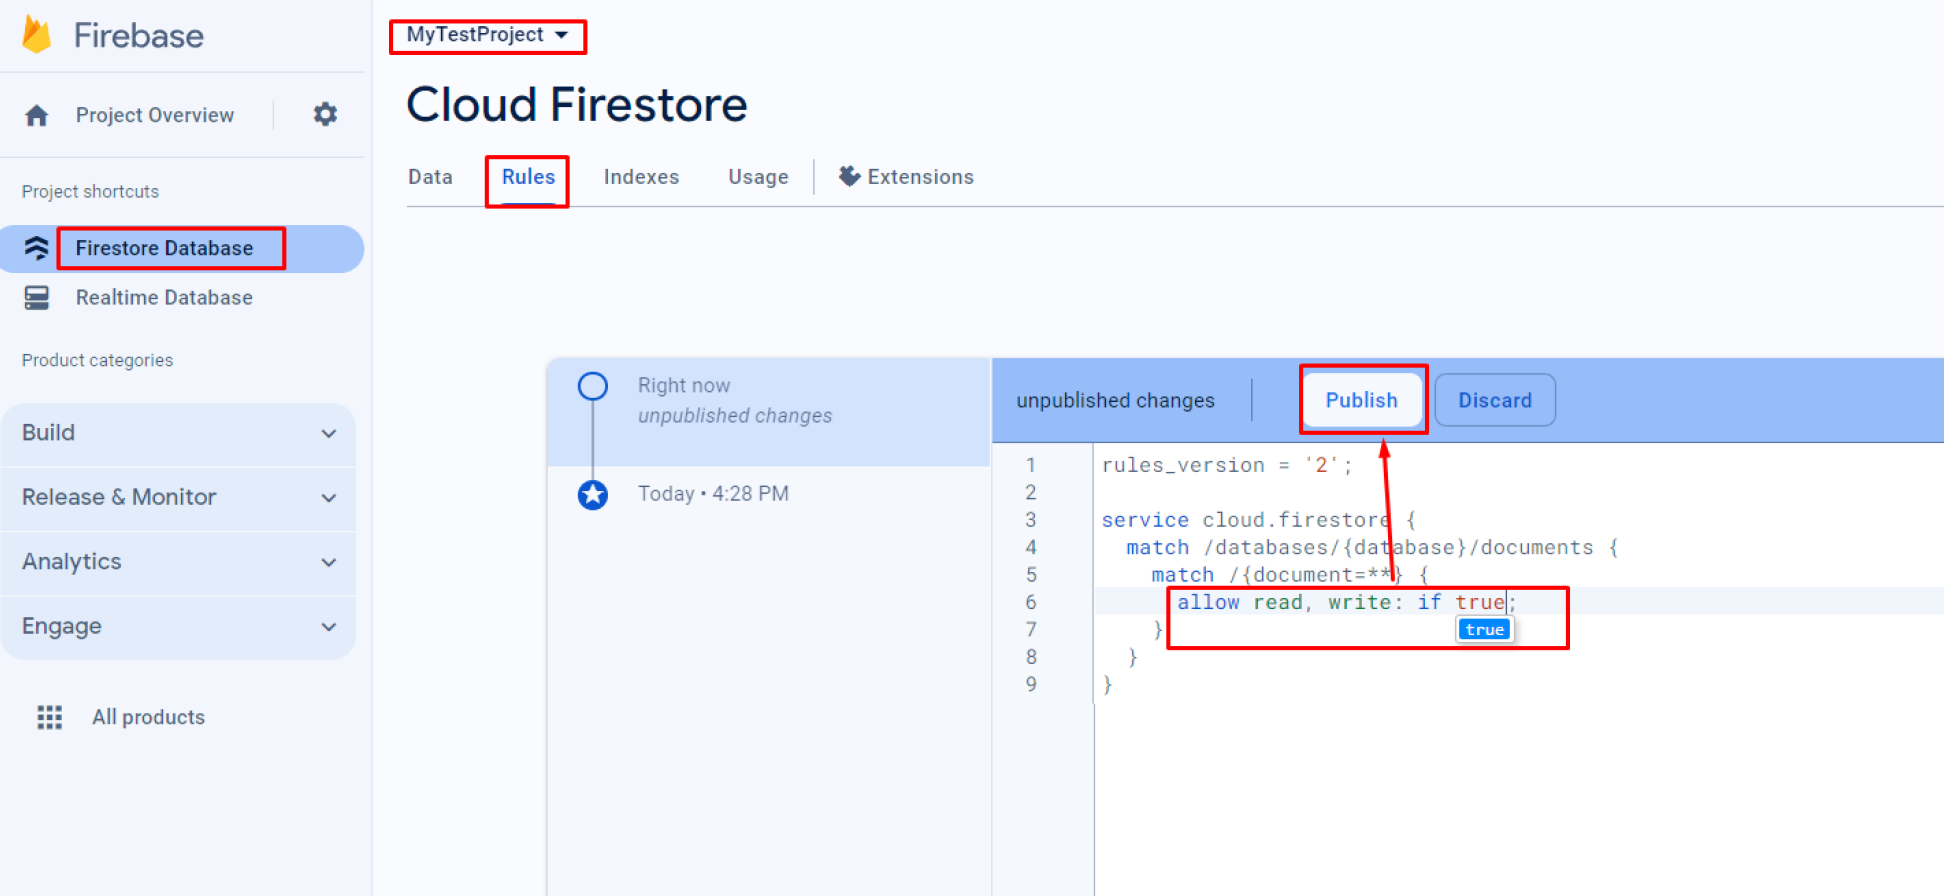
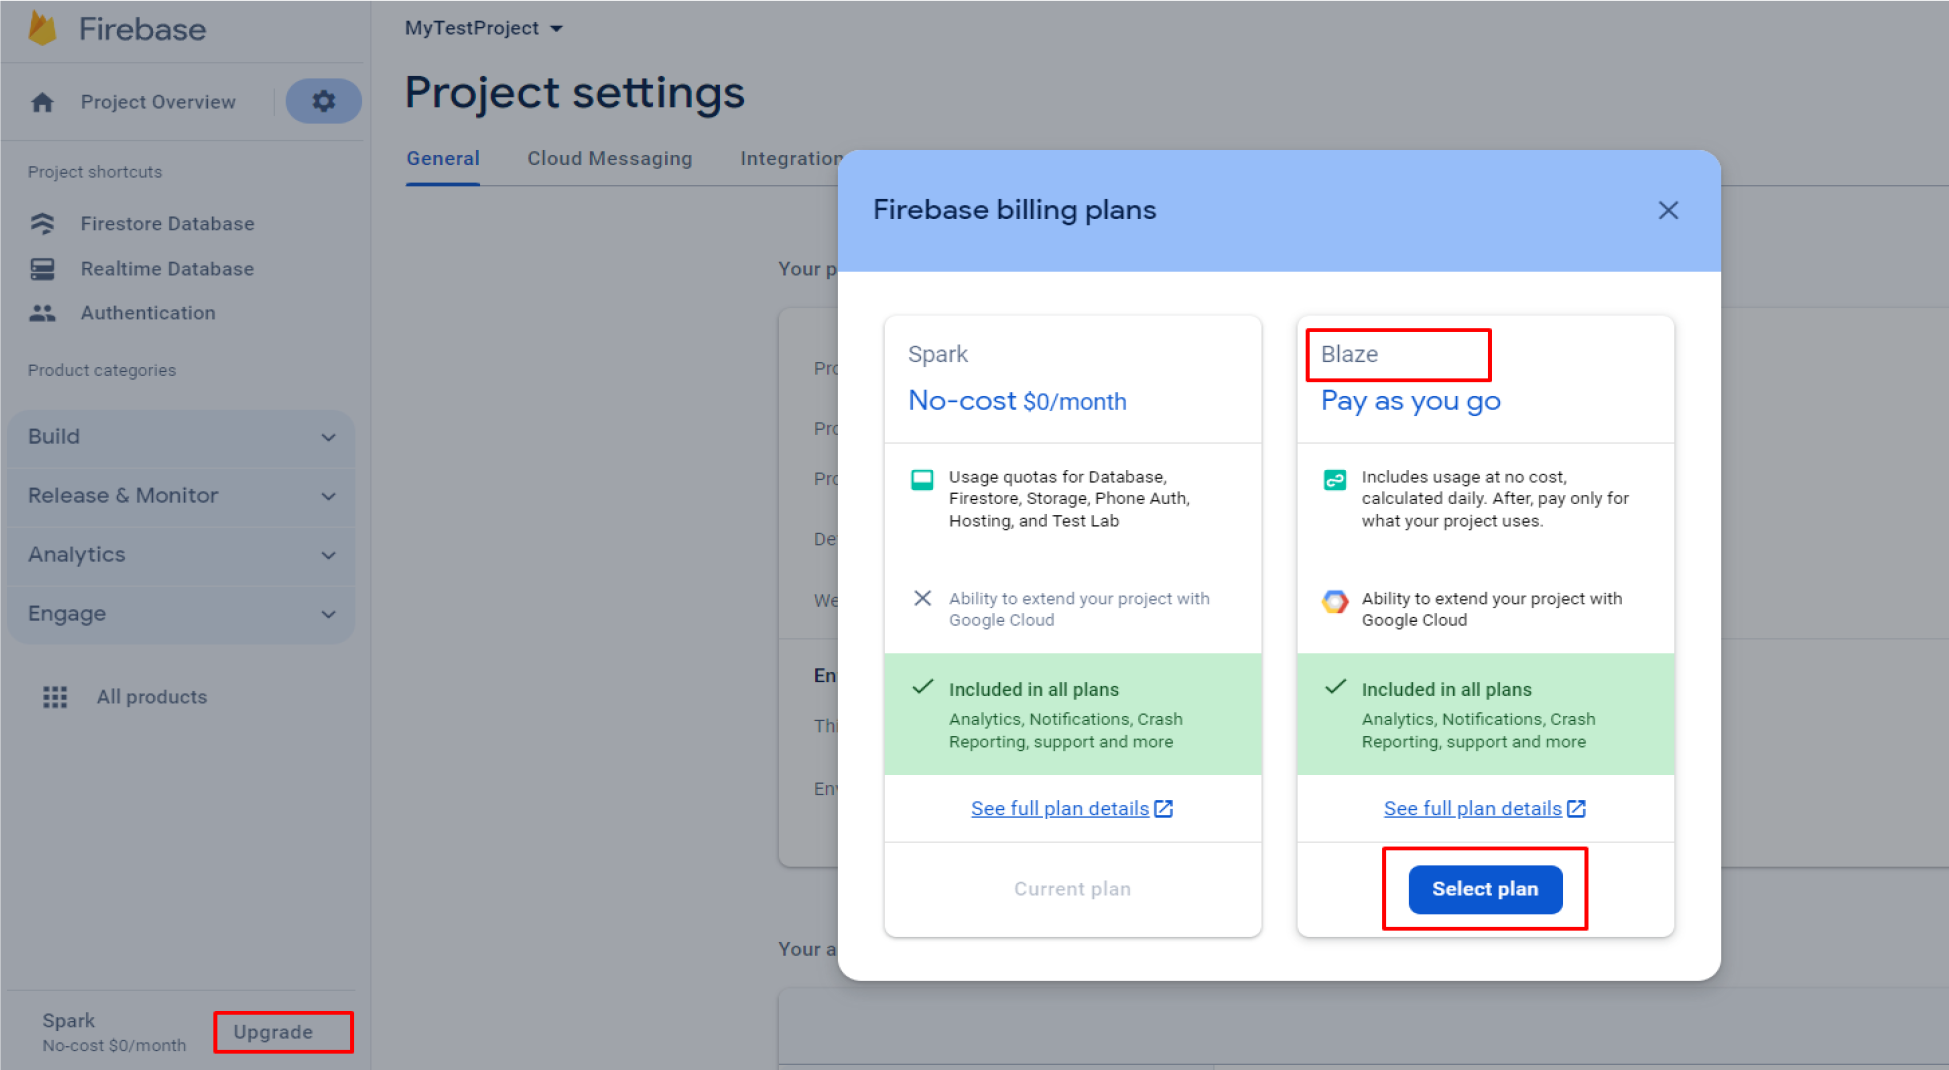
Step 10: Upgrade your firebase plan.