9. Restaurant Panel Setup
9.1 Connect to FTP and Setup
Follow these instructions to connect to your server using FTP and complete the application setup:
9.1.1. Connect to the server using FTP: Use an FTP client like FileZilla to connect to your server. Enter the server’s IP address, username, and password. Use port 21 for FTP or port 22 for SFTP.
9.1.2. Transfer the ZIP file: Upload your restaurant panel’s ZIP file to the server’s local path (e.g., /var/www/html).
9.1.3. Unzip the file: Navigate to the file’s location on the server and run the following command to extract the ZIP file: “sudo unzip your-application.zip” or you can do it from cpanel directly.
9.1.4. Update the .env file with your configuration: Modify the database and application settings which are mentioned in the .env file. Below is an example configuration:
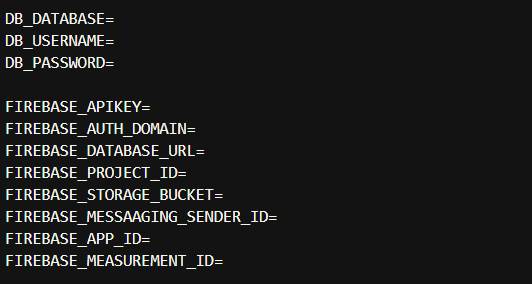
Please Note:
Add Your Google Client ID for Google Login Functionality
To enable Google login, you need to provide your Google Client ID.
Steps to find your Google Client ID:
- Go to your Firebase Project in the Firebase Console.
- Navigate to Authentication > Sign-in Method.
- Click on Google under the list of providers.
- Scroll down to Web SDK configuration.
- Copy the Web Client ID.
- Paste this Client ID in the env file of the restaurant panel.
GOOGLE_CLIENT_ID=
Steps to Check/Add Authorized Domains for OAuth 2.0 Client ID
- Go to Google Cloud Console.
- Navigate to APIs & Services > Credentials.
- Open your OAuth 2.0 Client ID (Web application type).
- Ensure the following are added:
Authorized JavaScript Origins e.g.- https://yourwebpanel.com
- https://yourrestaurantpanel.com
Authorized Redirect URIs e.g.
- https://yourwebpanel.com/__/auth/handler
- https://yourrestaurantpanel.com/__/auth/handler
Now you can access your owner panel at your desired domain
For ex: https://owner.yourdomain.com/
9.2 Restaurant Panel Menus Overview
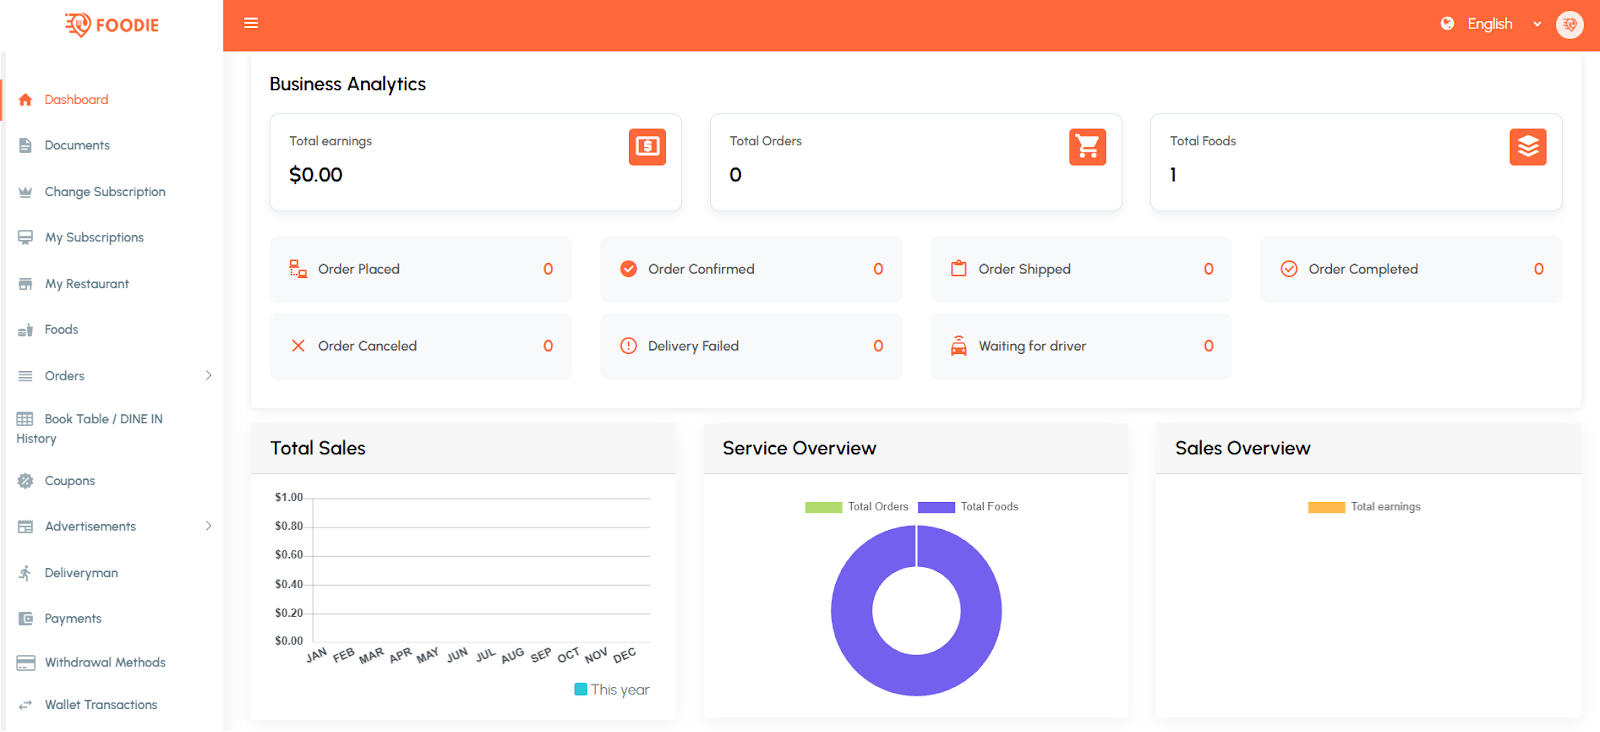
9.2.1. Dashboard
Provides an at-a-glance overview of the vendor’s business operations. Displays analytics such as total drivers, active orders, completed orders, ongoing orders, latest orders, top-performing drivers, and overall earnings summary. Helps vendors quickly monitor performance, track fleet efficiency, and make informed operational decisions.
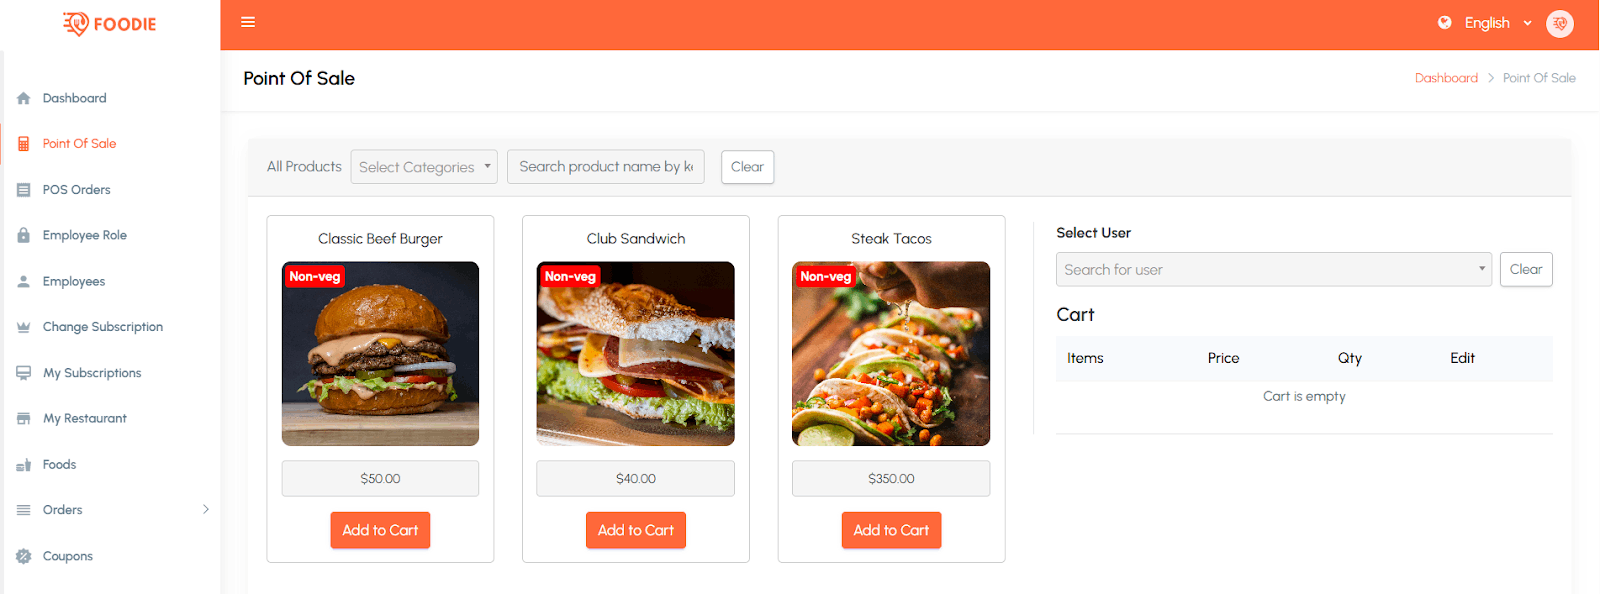
9.2.2. Point of Sale
Manage in-person or counter sales using the Point of Sale system. This feature allows staff to quickly create orders, add products or services, apply taxes, and process payments in real time. It’s ideal for handling walk-in customers, improving checkout efficiency, and keeping all transactions synchronized with platform order records.
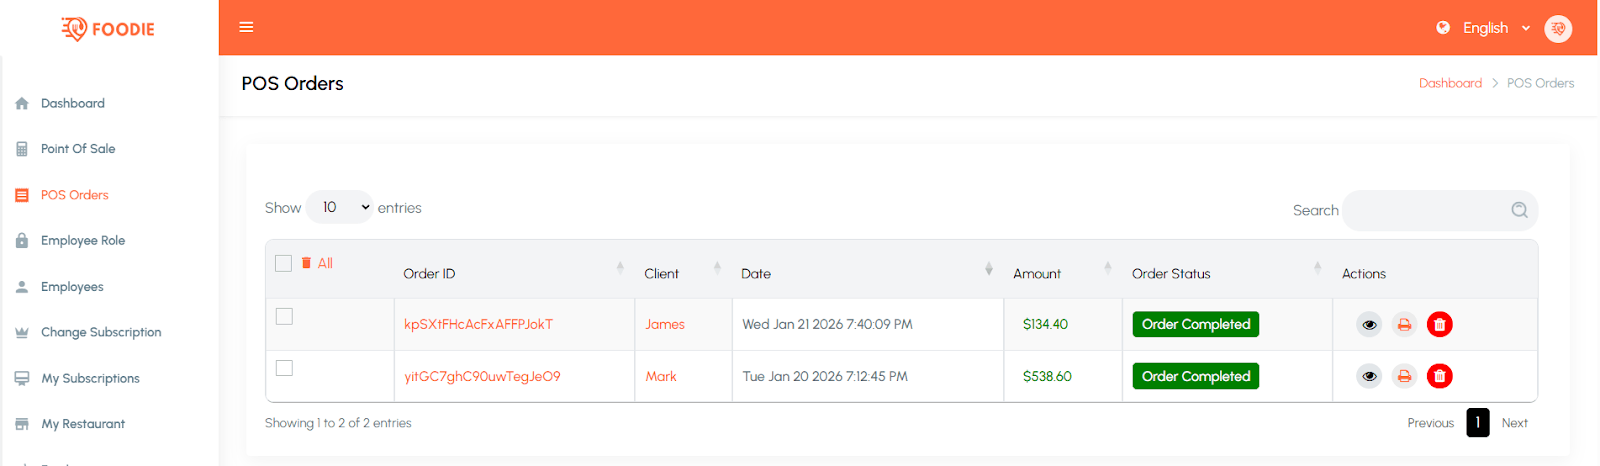
9.2.3. POS Orders
View and manage all orders generated through the Point of Sale system. This section provides access to order details, item breakdowns. It helps track sales activity, resolve disputes, generate reports, and maintain accurate records
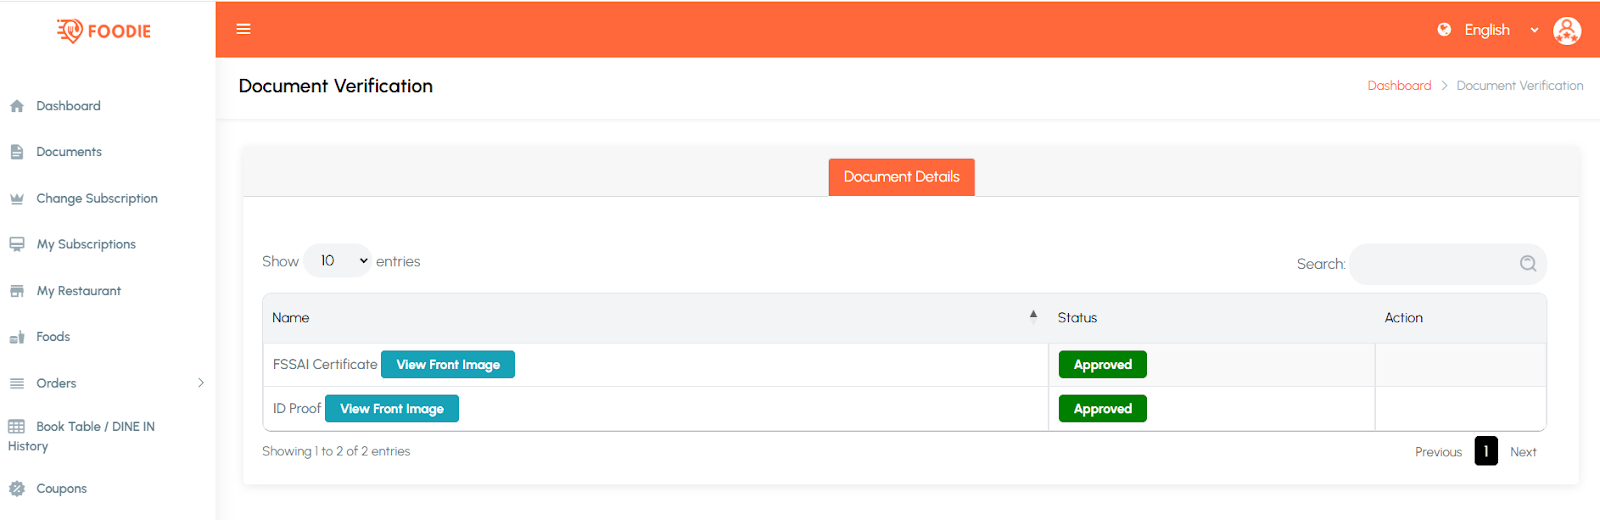
9.2.4. Document Verification
Document Verification allows vendors to securely upload and submit required documentation for approval. This can include identity proof, business licenses and other necessary certificates. The system ensures that all submitted documents are verified before activating the vendor’s account, helping maintain compliance, safety, and trust on the platform.
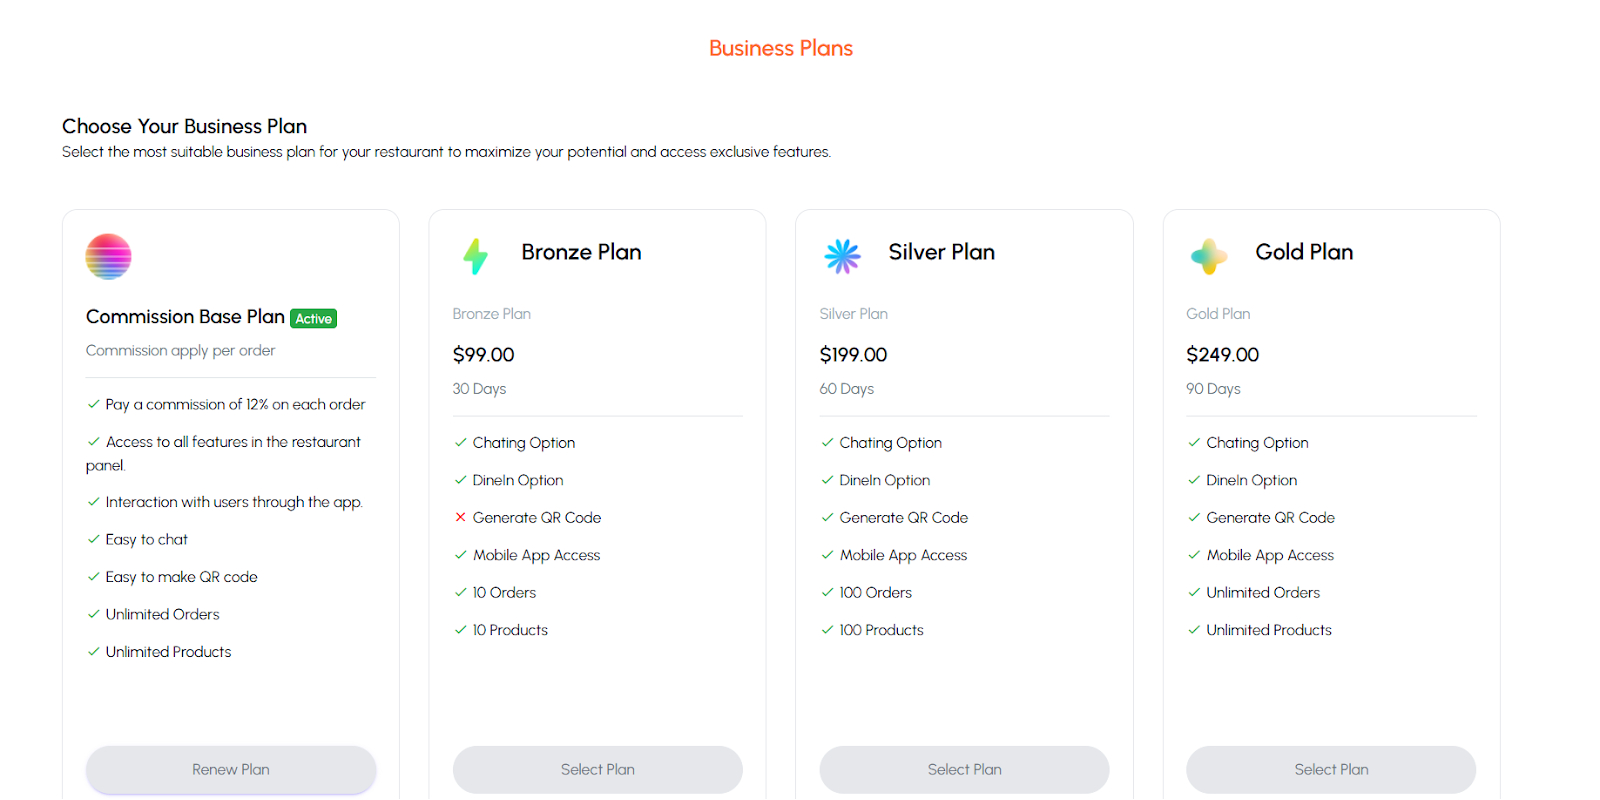
9.2.5. Change Subscription
The Change Subscription feature allows vendors to upgrade, downgrade, or switch their current subscription plan. It provides details of available plans, pricing, features, and renewal options. This helps vendors select the most suitable plan for their business needs, ensuring access to desired features and optimal platform usage.
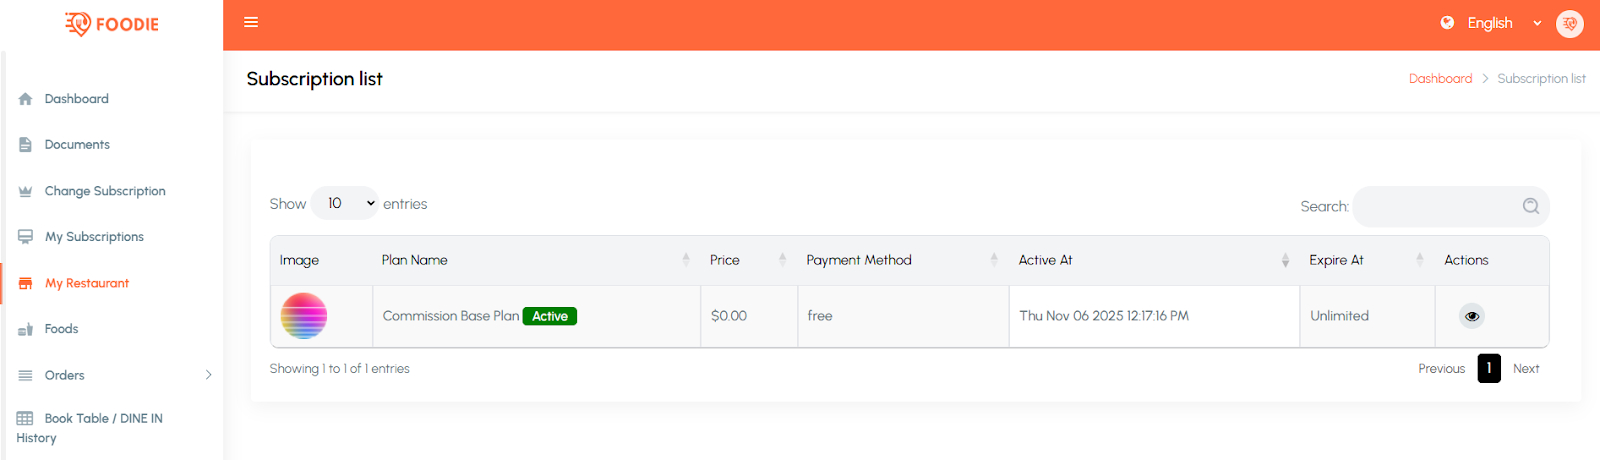
9.2.6. My Subscriptions
The My Subscriptions section allows owners to view and manage their active subscription plans on the platform. It displays details such as subscription type, start and expiry dates, features included, payment history, and renewal options. This helps owners keep track of their plan benefits, ensure uninterrupted access to platform services, and manage upgrades or renewals efficiently.
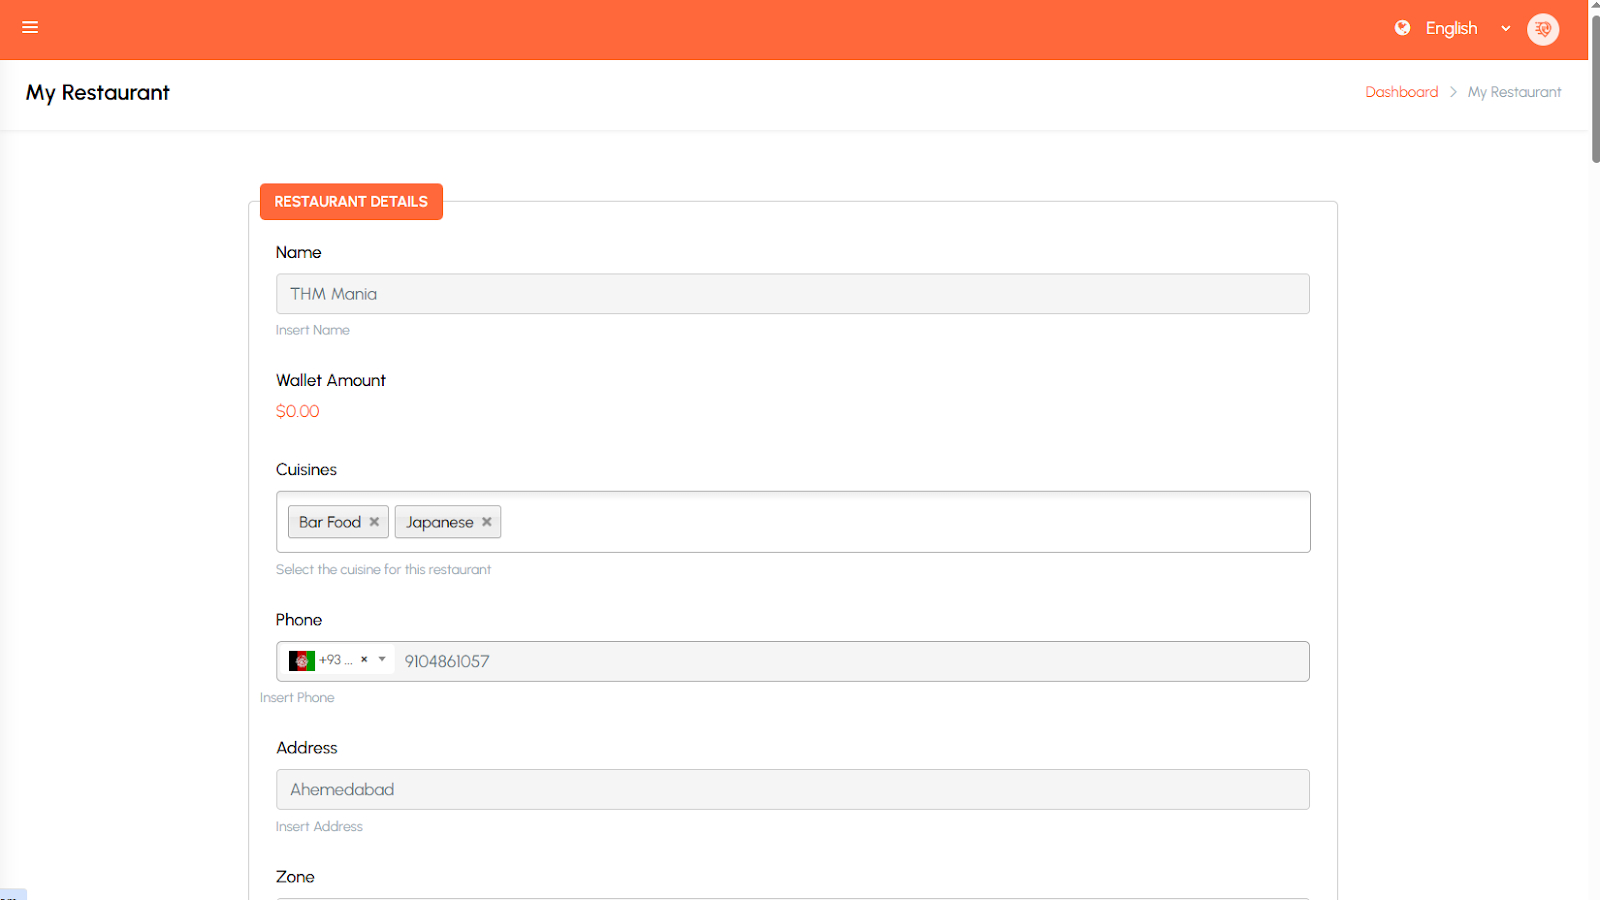
9.2.7. My Restaurant
This section allows restaurant owners to manage all key details of their own restaurant from the vendor panel. Owners can update basic information such as name, logo, address, contact details, operating hours, and delivery settings. It also includes options to configure tax details, delivery radius, and restaurant status (open/closed). This section ensures that vendors can easily keep their restaurant information accurate and up to date, helping maintain consistency across listings and improving customer trust.
9.2.8. Foods
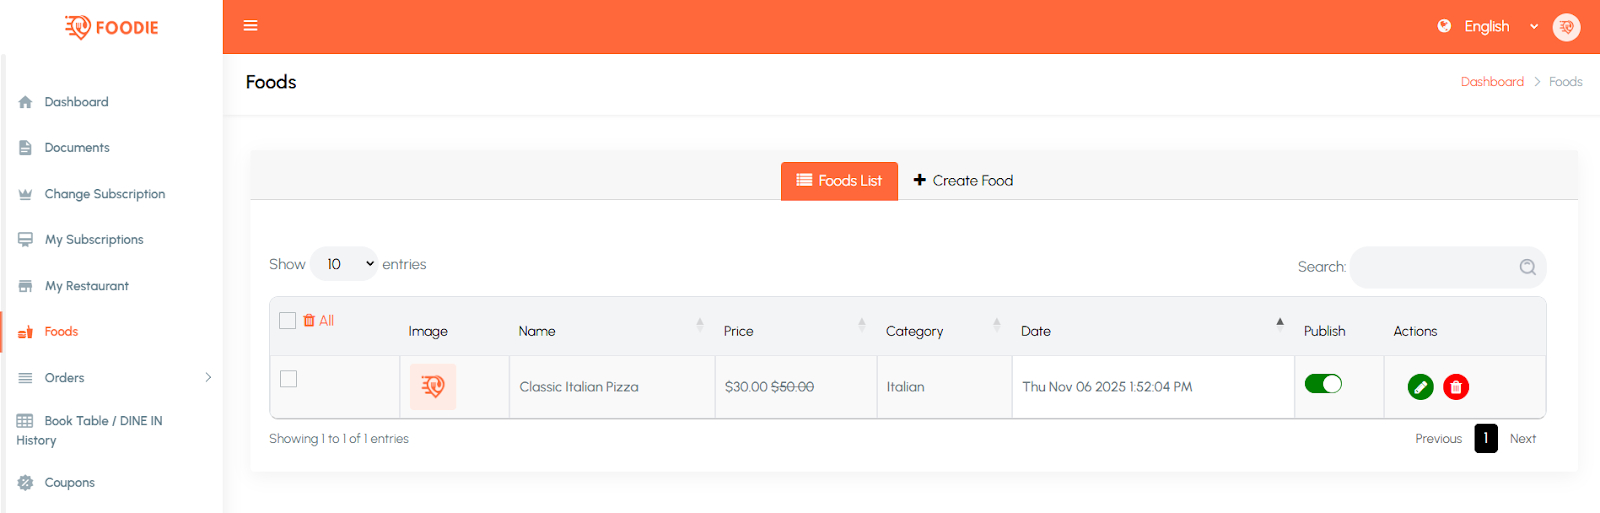
This section allows owners to manage all the food items listed under their restaurant. Vendors can add, edit, or delete menu items and define details such as name, category, price, description, image, and availability status. They can also manage add-ons or variations like size and flavor. This section helps restaurants keep their menus organized, accurate, and appealing to customers, ensuring that available dishes are always up to date for online ordering. Additionally, vendors can access and add food items imported by the admin through the Import Foods from Global Menu, allowing them to quickly populate their store with pre-created products.
9.2.9. Orders
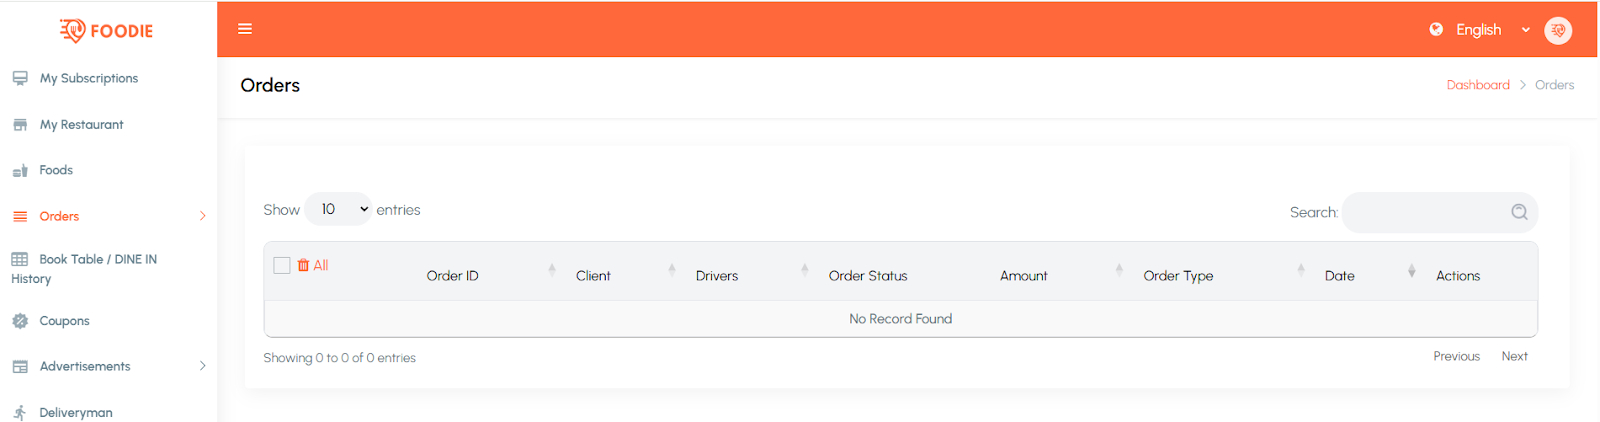
This section allows owners to view and manage all customer orders received by their restaurant. Vendors can track order details such as customer information, order items, total amount, payment status, and delivery type. They can update order statuses — for example, accepted, preparing, ready for pickup, or delivered — in real time. The section also supports order cancellation and delivery assignment. This feature ensures smooth order processing, efficient communication, and timely service for customers.
9.2.10. Book Table / DINE IN History
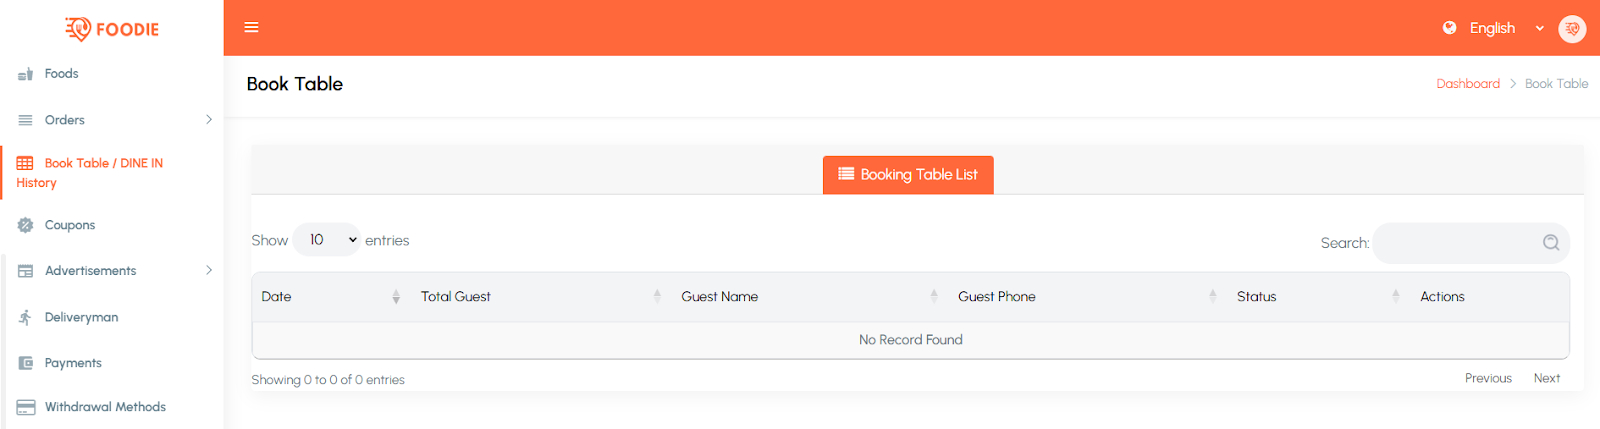
This section allows restaurant owners to manage all table booking and dine-in requests made by customers. Vendors can view booking details such as customer name, contact information, number of guests, date, and time slot. They can confirm, modify, or cancel reservations directly from this panel. The history view helps track past and upcoming dine-in bookings for better management. This feature ensures organized table scheduling, reduces overlaps, and enhances the overall dine-in experience for customers.
9.2.11. Book Table / DINE IN History
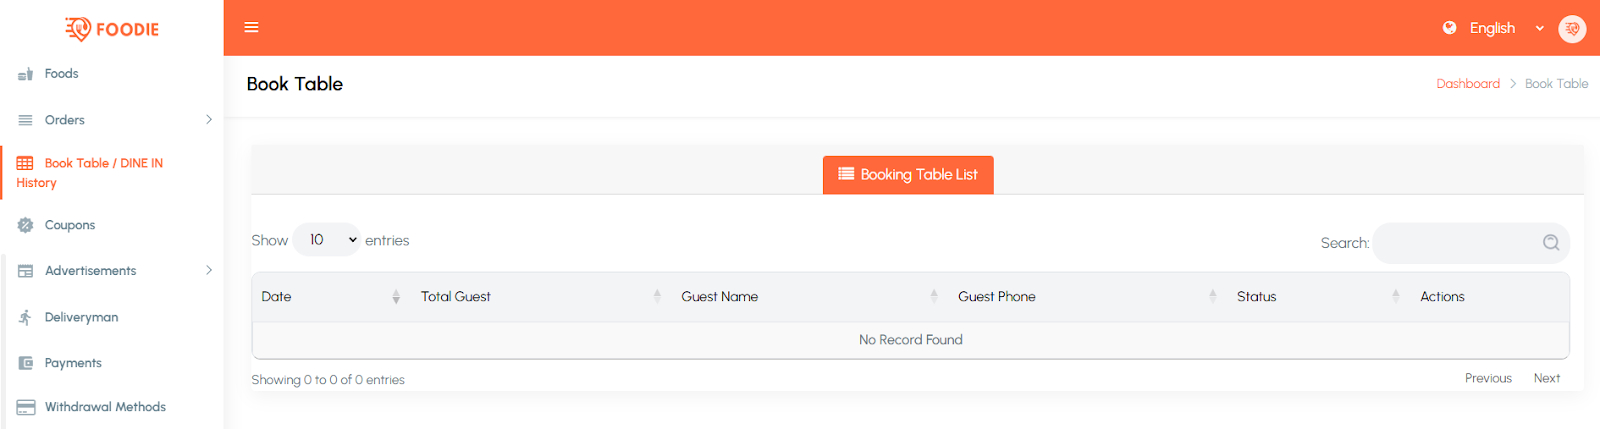
This section allows restaurant owners to manage all table booking and dine-in requests made by customers. Vendors can view booking details such as customer name, contact information, number of guests, date, and time slot. They can confirm, modify, or cancel reservations directly from this panel. The history view helps track past and upcoming dine-in bookings for better management. This feature ensures organized table scheduling, reduces overlaps, and enhances the overall dine-in experience for customers.
9.2.12. Coupons
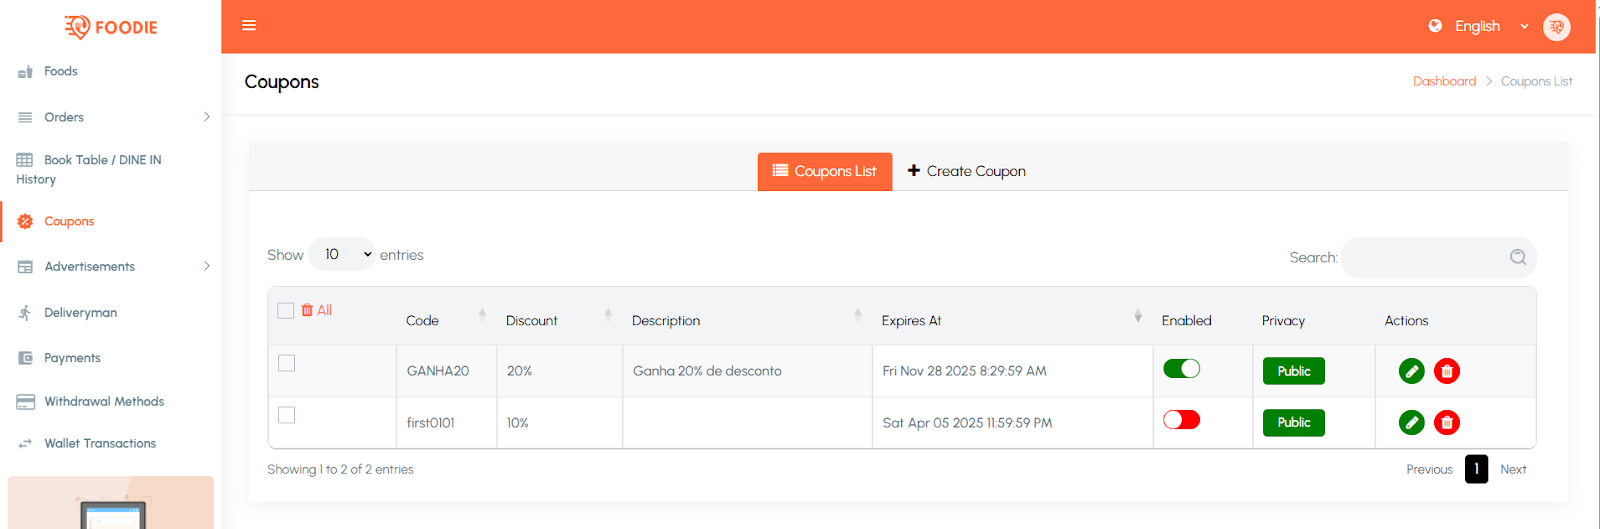
This section allows restaurant owners to create and manage discount coupons for their customers. Vendors can define coupon codes, discount types (percentage or fixed), minimum order values, validity periods, and usage limits. Coupons can be applied to specific menu items or the entire restaurant. This helps attract new customers, boost repeat orders, and promote special offers or events. The system automatically validates coupons during checkout, ensuring a smooth and rewarding experience for users.
9.2.13. Advertisements
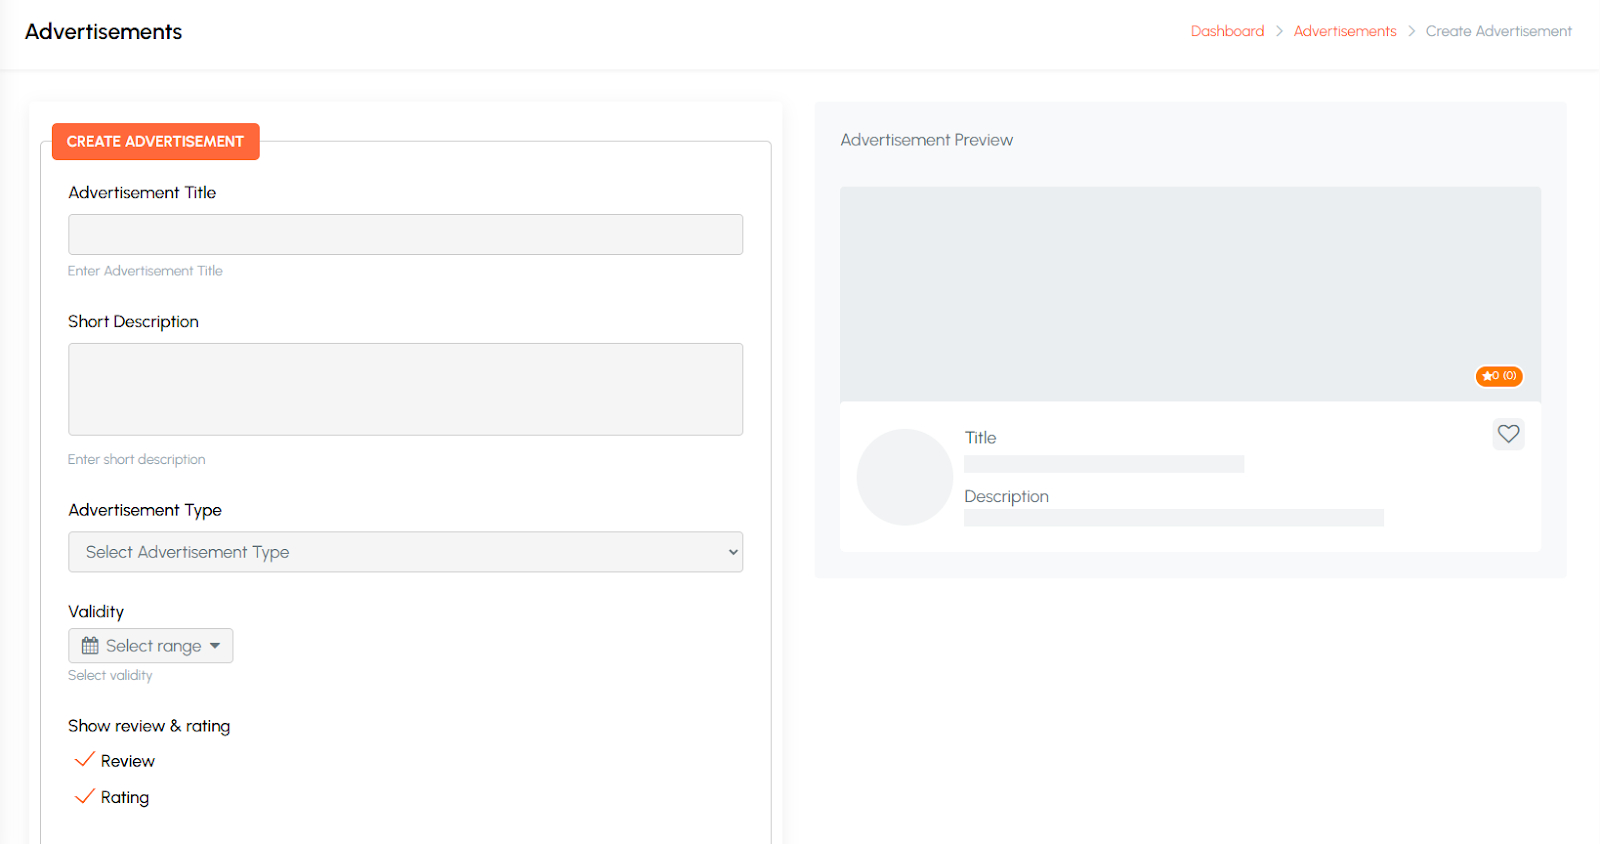
This section allows restaurant owners to create and manage advertisements to promote their restaurant or specific menu items. Vendors can upload banner images, set titles, add links, and choose where the ads will appear on the platform (such as homepage or category sections). They can also define the duration and visibility of each advertisement. This feature helps restaurants increase visibility, attract more customers, and highlight special offers or new dishes effectively.
9.2.14. Deliveryman
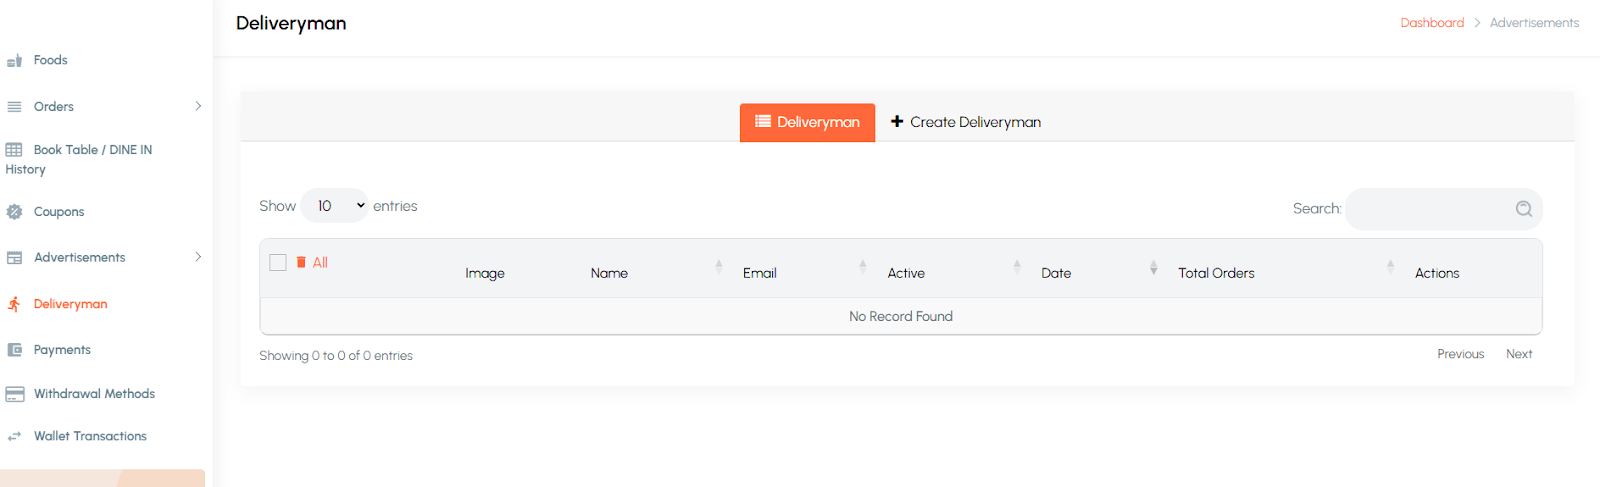
This section allows restaurant owners to manage their own delivery staff when using the self-delivery option. Vendors can add, edit, or remove deliverymen and assign them to specific orders. Each deliveryman profile includes details such as name, contact information, and current status (available, busy, or inactive). Restaurant owners can track delivery performance and ensure timely order completion. This feature provides flexibility for restaurants that prefer to handle deliveries independently rather than relying on the platform’s driver network.
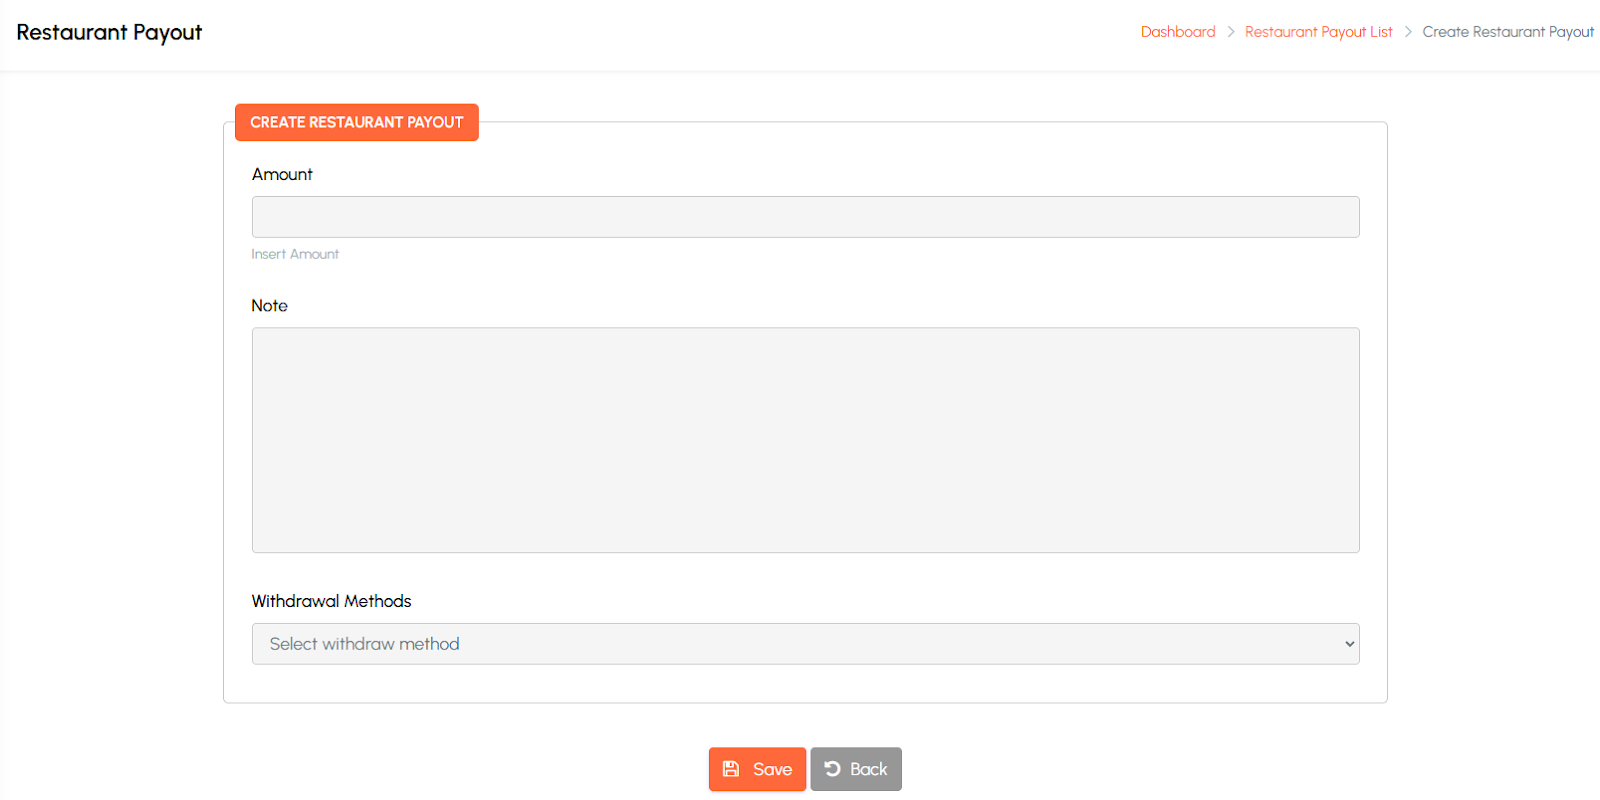
9.2.15. Payments
This section allows restaurant owners to view and manage their earnings and payout history. Vendors can track total revenue, completed payouts, pending balances, and commission deductions. The system provides detailed transaction records, including payout dates, amounts, and payment methods. Restaurant owners can also request withdrawals if manual payouts are enabled. This feature ensures full transparency of financial transactions and helps vendors monitor their income efficiently.
9.2.16. Withdrawal Methods
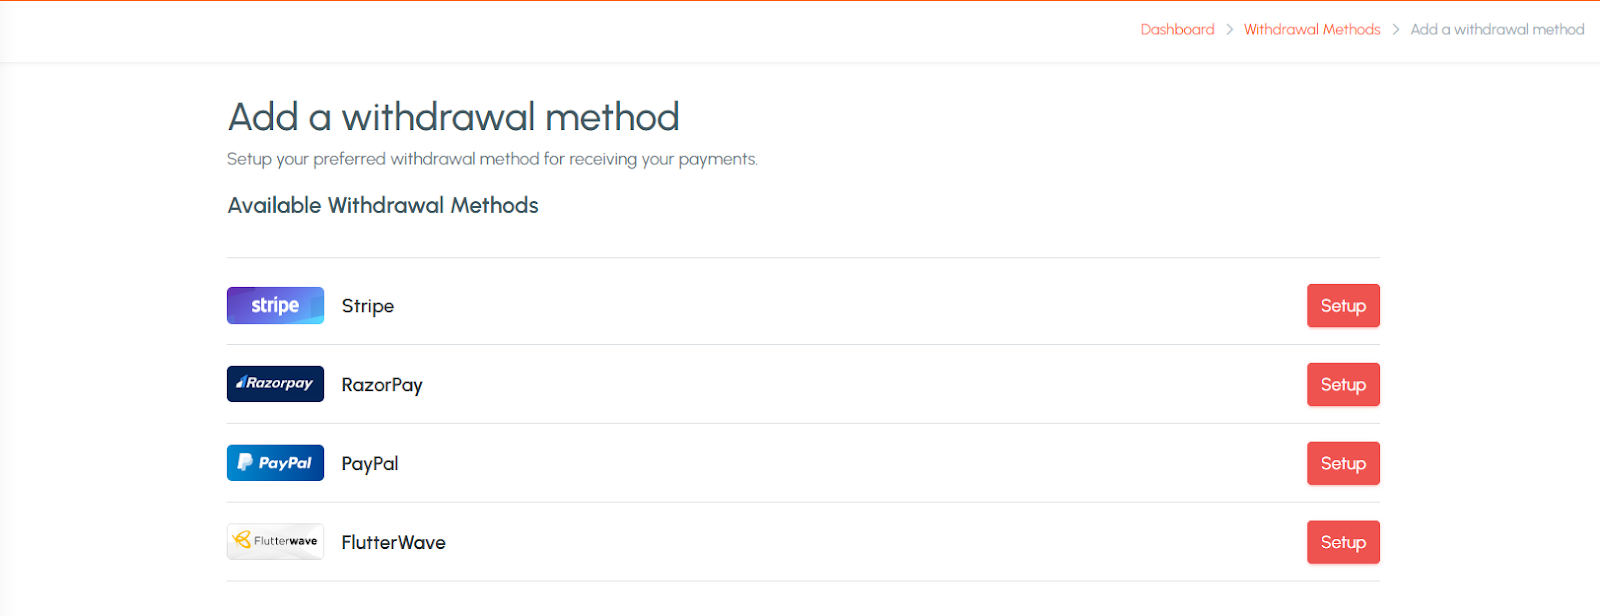
This section allows restaurant owners to set up and manage their preferred payment methods for receiving payouts. Vendors can add or edit withdrawal options such as bank transfer, PayPal, or other supported methods by providing the necessary account details. Admins may review and approve these methods for security purposes. Having multiple withdrawal options ensures flexibility and convenience for vendors, allowing them to receive their earnings quickly and securely.
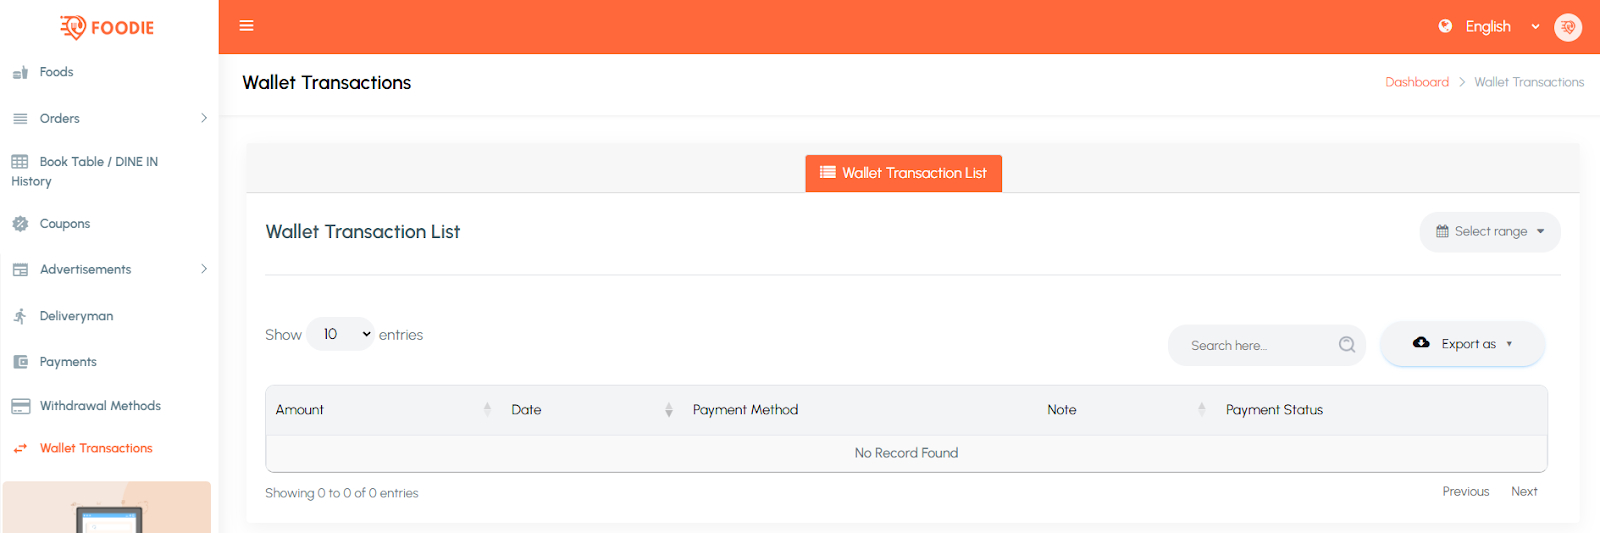
9.2.17. Wallet Transactions
This section allows restaurant owners to view all wallet-related activities within their account. Vendors can track credit and debit transactions such as received payments, cashback, order adjustments, and withdrawals. Each transaction includes details like date, description, amount, and balance updates. This transparent record helps vendors monitor their financial flow in real time. The feature ensures accurate accounting and provides a clear overview of all wallet movements for better financial management.