6. Admin Panel Setup
Make sure your server meets the requirements mentioned in the documentation Server Requirement section. After downloading the code, upload the admin zip file in your server and extract the zip file. admin panel can be installed on a domain or subdomain.
6.1 Create Database
6.1.1 : Create a new database from your server MYSQL database.
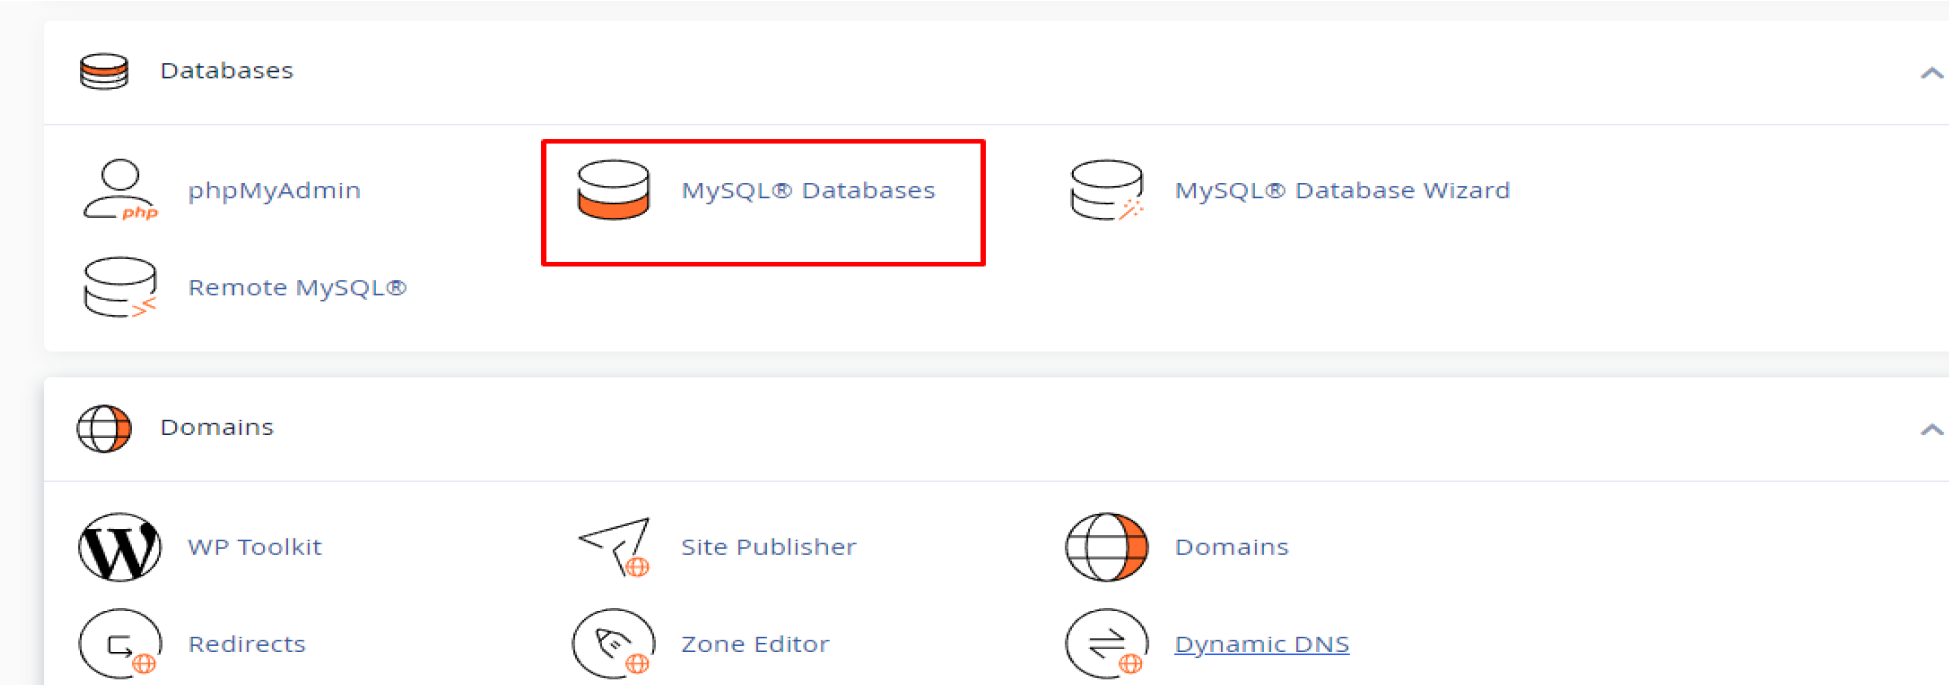
6.1.2 : Create New Database.

6.1.3 : Create a new database user

6.1.4 : Link the database to the newly created DB user.

6.1.5 : Give all permission to your user by Check on “All PRIVILEGES” and clicking on “Make Changes”

6.2 Configure Admin Panel
6.2.1 : After downloading the code, upload the admin zip file in your server and extract the zip file. admin panel can be installed on a domain or subdomain.
6.2.2 : Now you need to set Database host, Database name, Database username, Database password and your firebase project credentials in .env file.
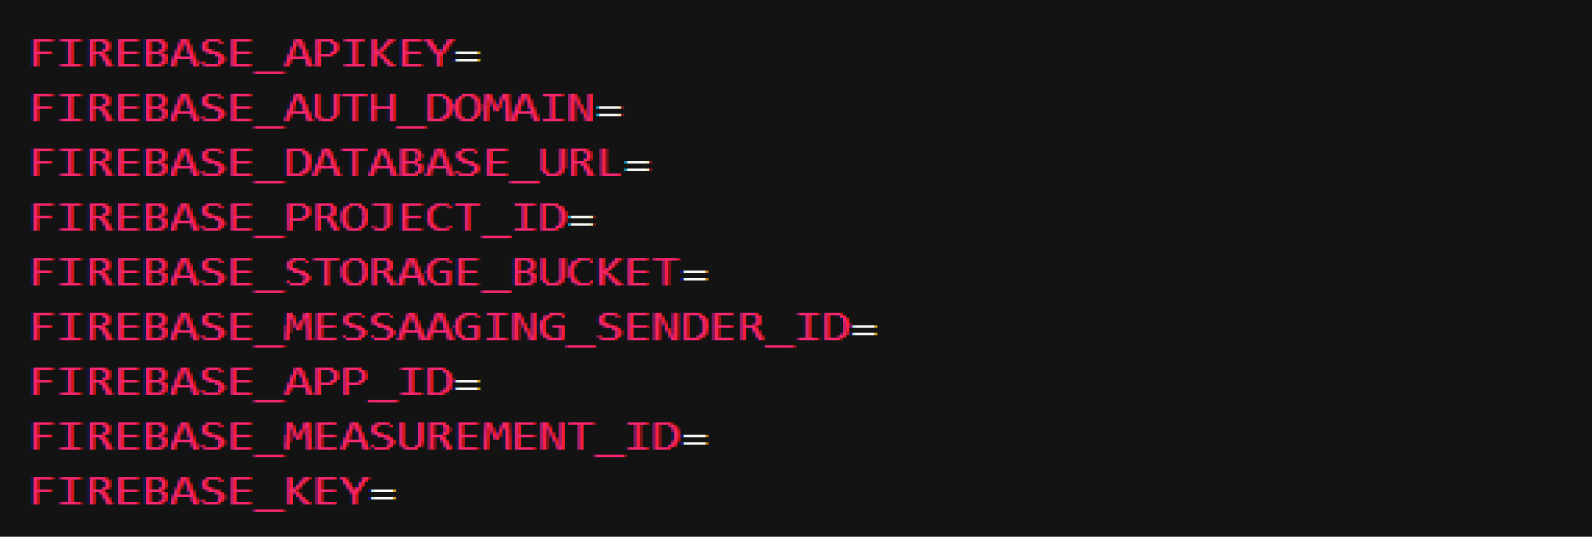
To get firebase credentials navigate to Project Settings > General > Web your web app.
apps > Select

Important Notes:
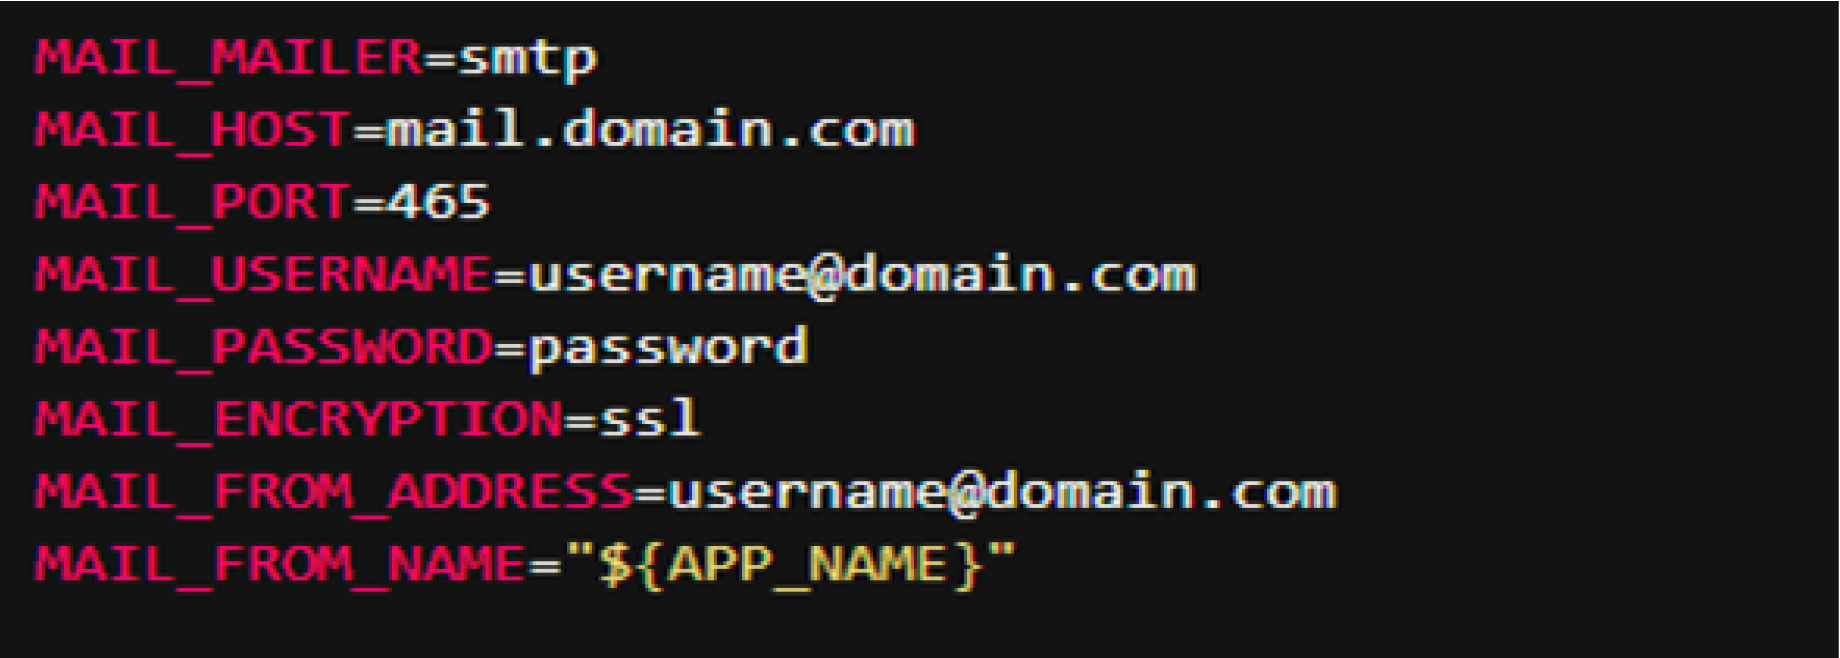
Please update your mail SMTP credentials to .env file of your admin panel otherwise mail functionality won’t work, see following snap for reference.
6.2.3 : Import given ebasket_admin_database.sql file and import the database
6.2.4 : Now the admin panel is ready to run.