Step 1:
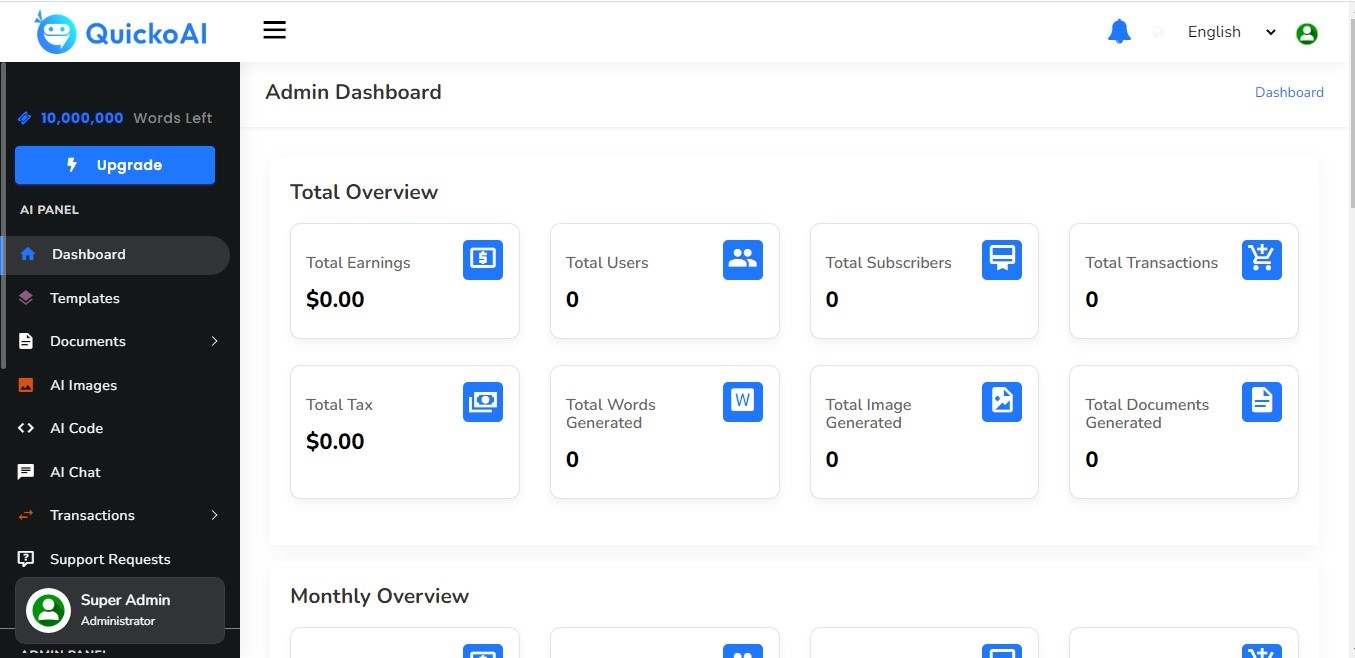
You can now login with admin user with following credentials and your
dashboard looks like as per following snap.
Email: admin@quicko.com
Password: 12345678
Step 2:
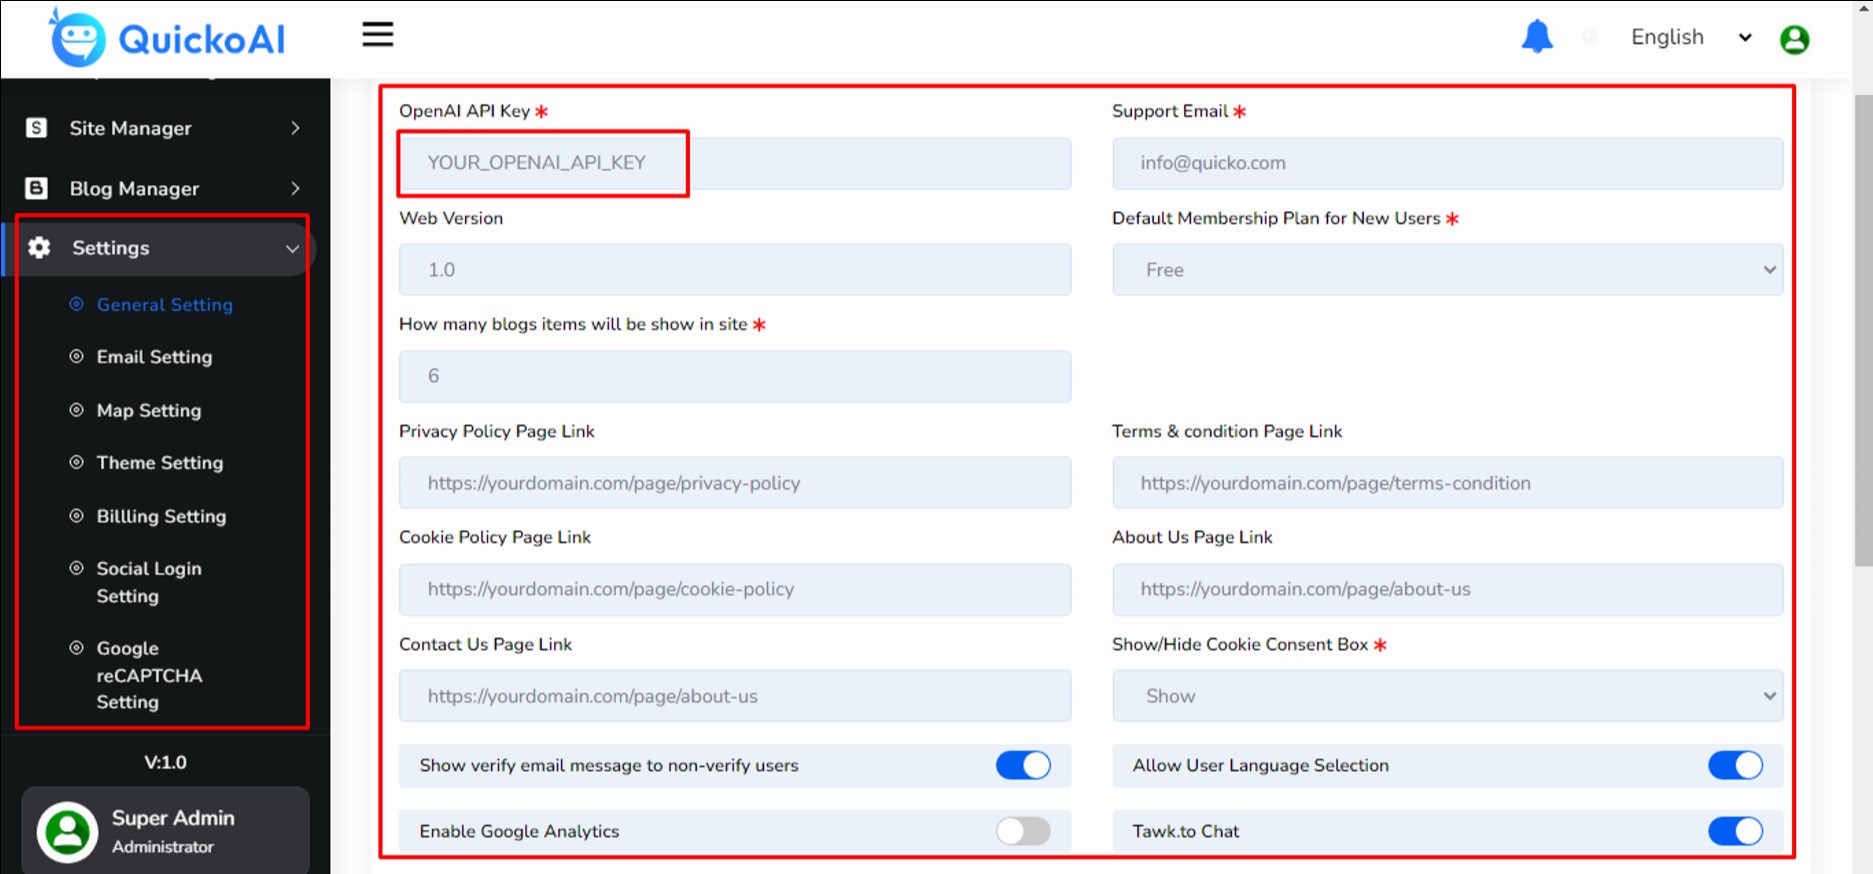
Please add your OPENAI_API_KEY and other settings details properly otherwise your system will not work properly.
Step 3:
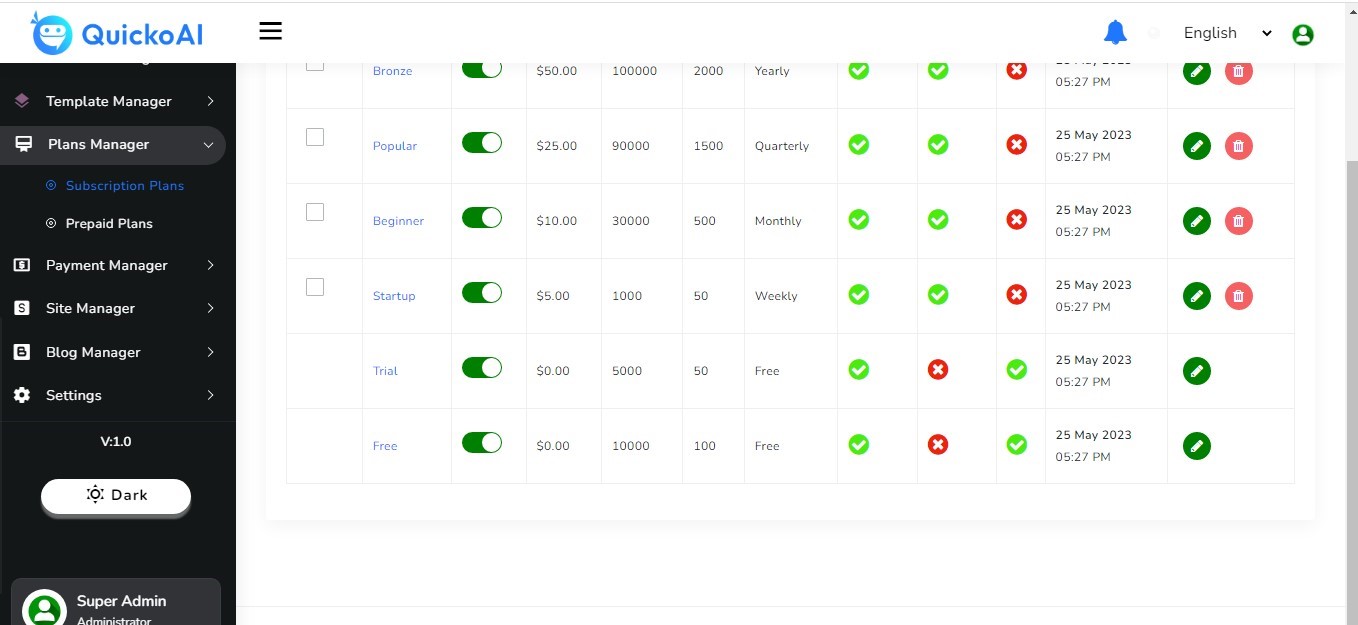
We are providing some default prepaid and subscription plans for users, you can
also create new plans and update existing plans.
Important Note:
The Free & Trial plan is default free plan type for users which are not deletable.
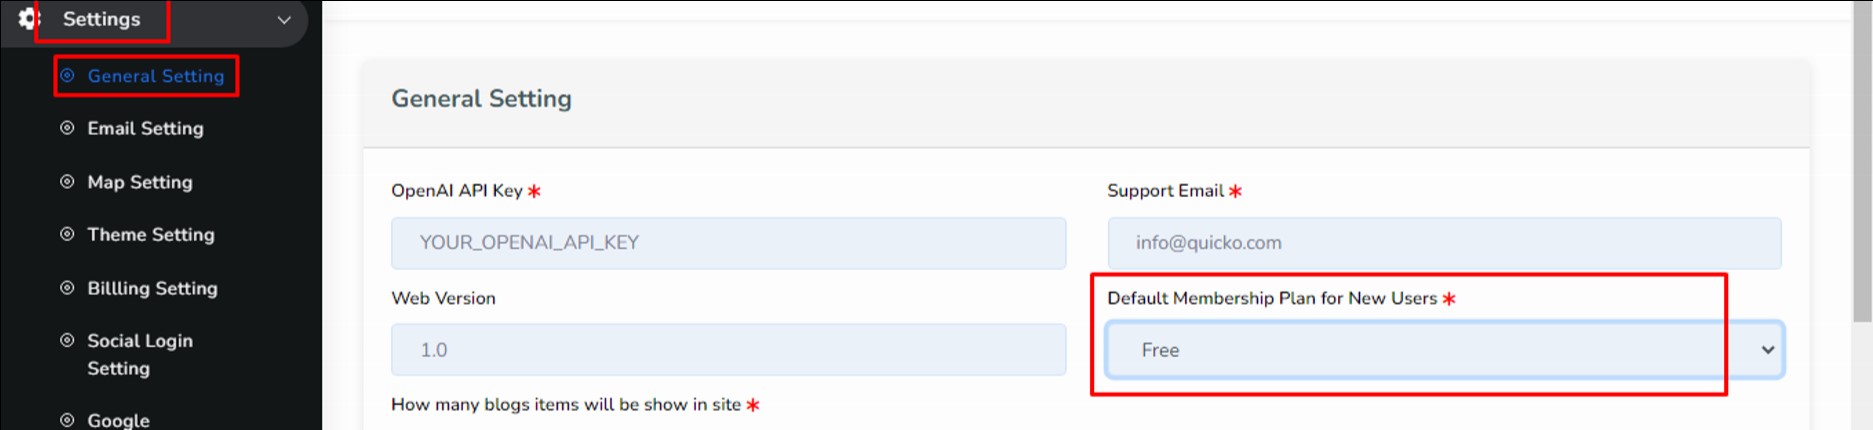
Also you can choose a default plan for users when they register on the site.
Find setting at : Settings > General Settings > Default Membership Plan for New Users
Step 4:
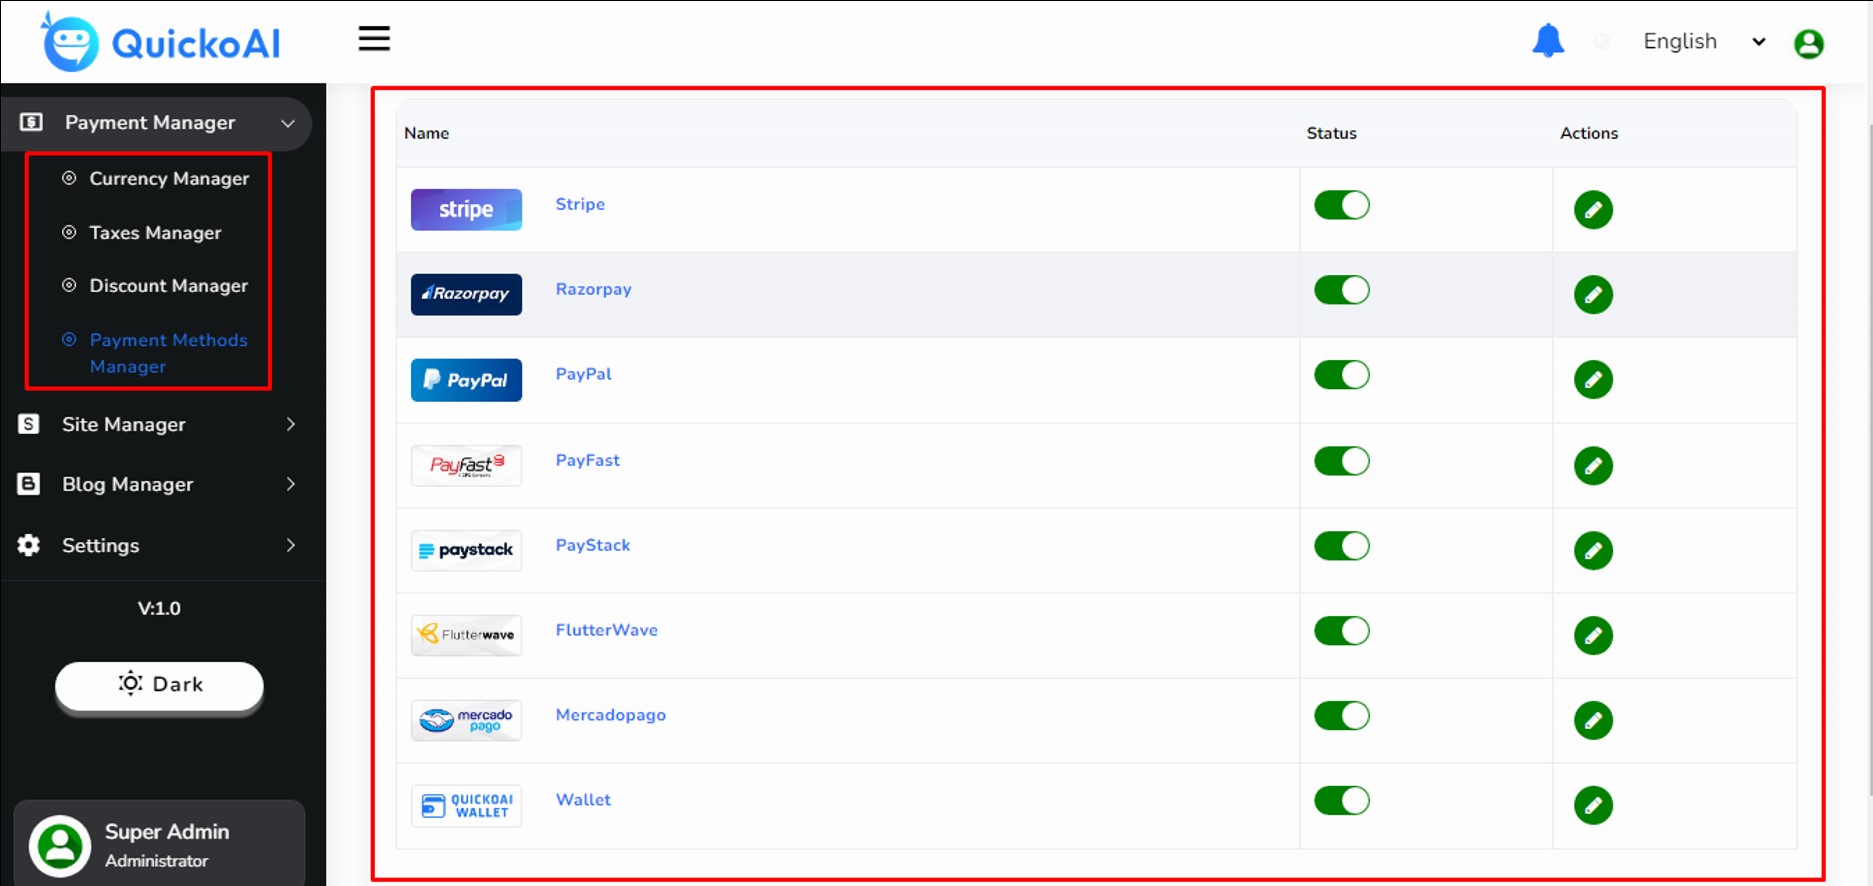
Please add your PAYMENT METHODS credentials properly otherwise your subscription purchase will not work.
Also you can add your taxes & discount and it will apply to subscription purchase
Step 5:
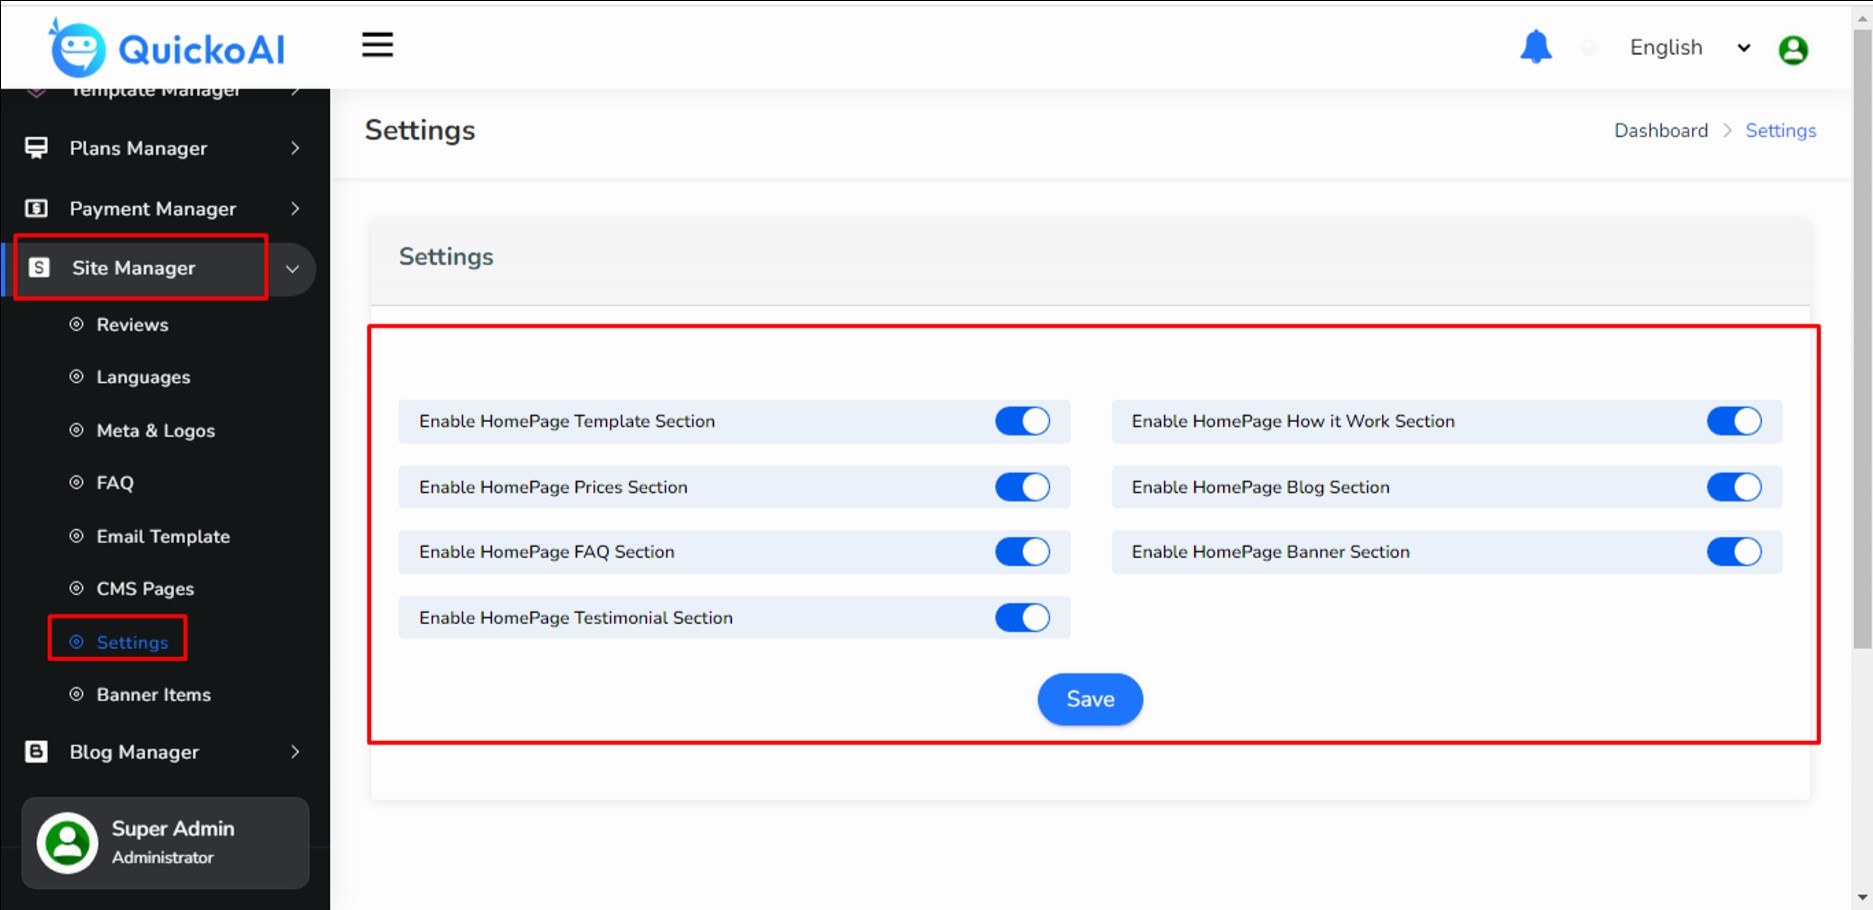
You can enable/disable sections of the homepage by setting in site manager.
Step 6:
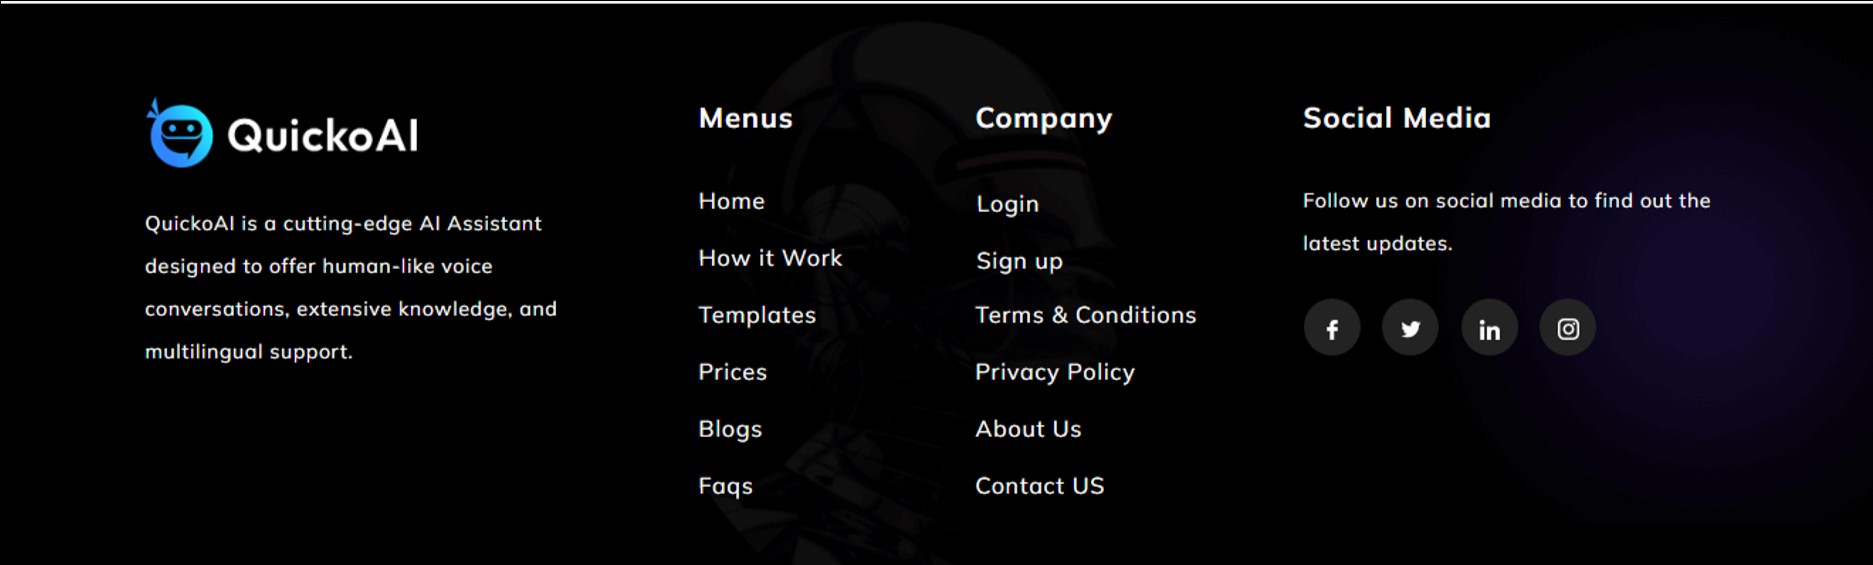
You can update header/footer sections by adding the following files
a. root_path/resources/views/layouts/front/header.php

b. root_path/resources/views/layouts/front/footer.php
Step 7:
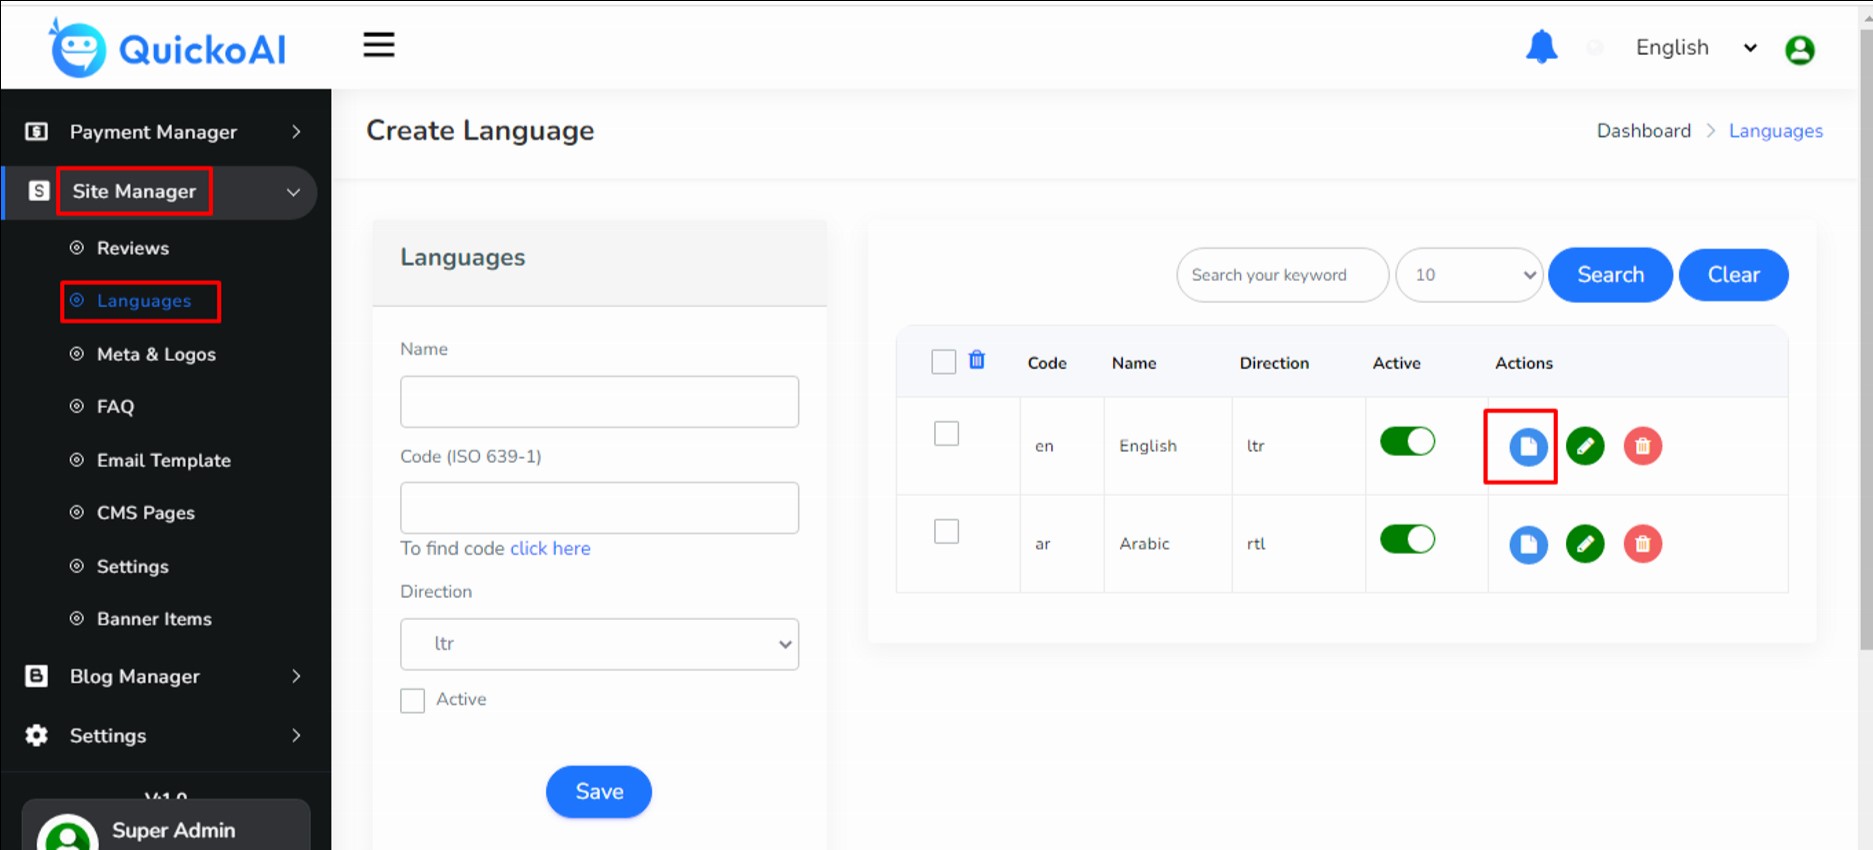
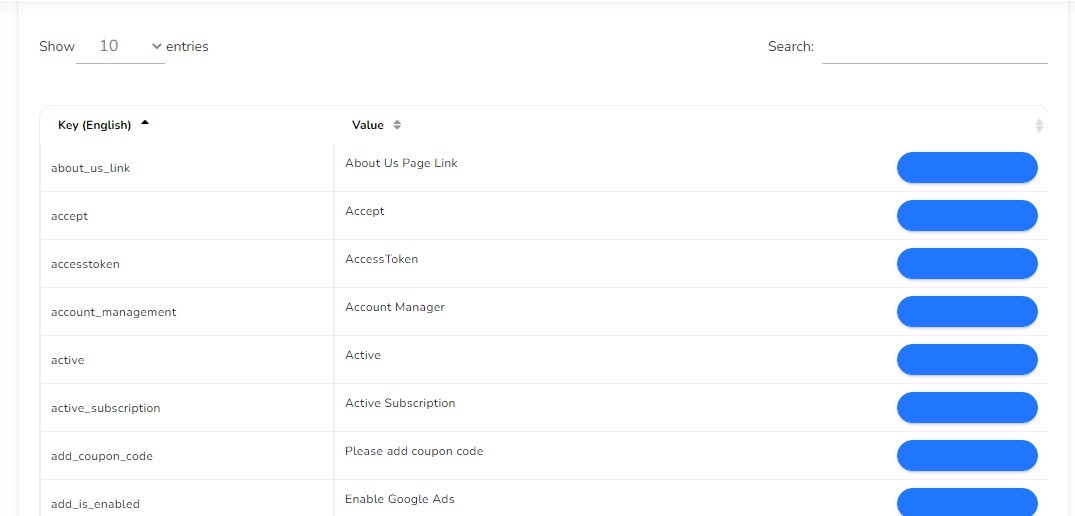
You can translate your text by language manager.
Step 8:
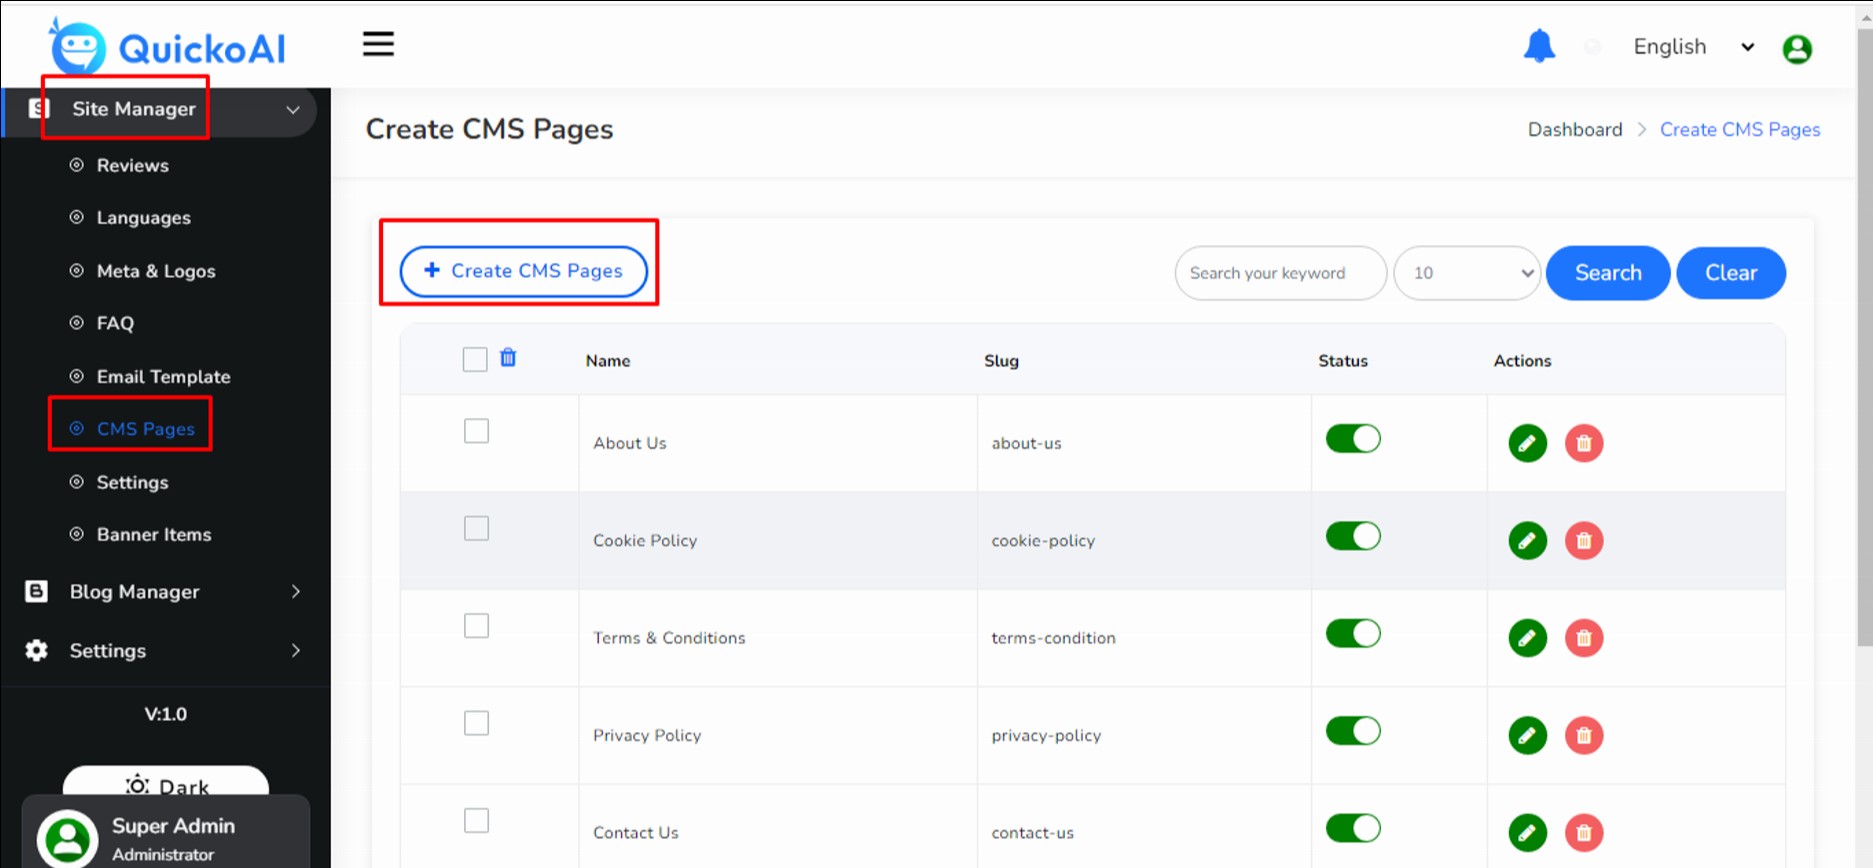
You can also create your custom CMS pages and add created link to your menu
or whenever you want to add.
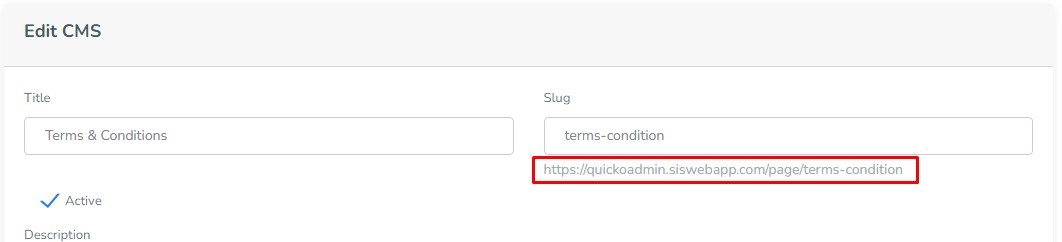
Like Terms & Condition page url is: http://yourdomain.com/page/terms-condition And this url you can add anywhere same for other CMS pages.
Step 9:
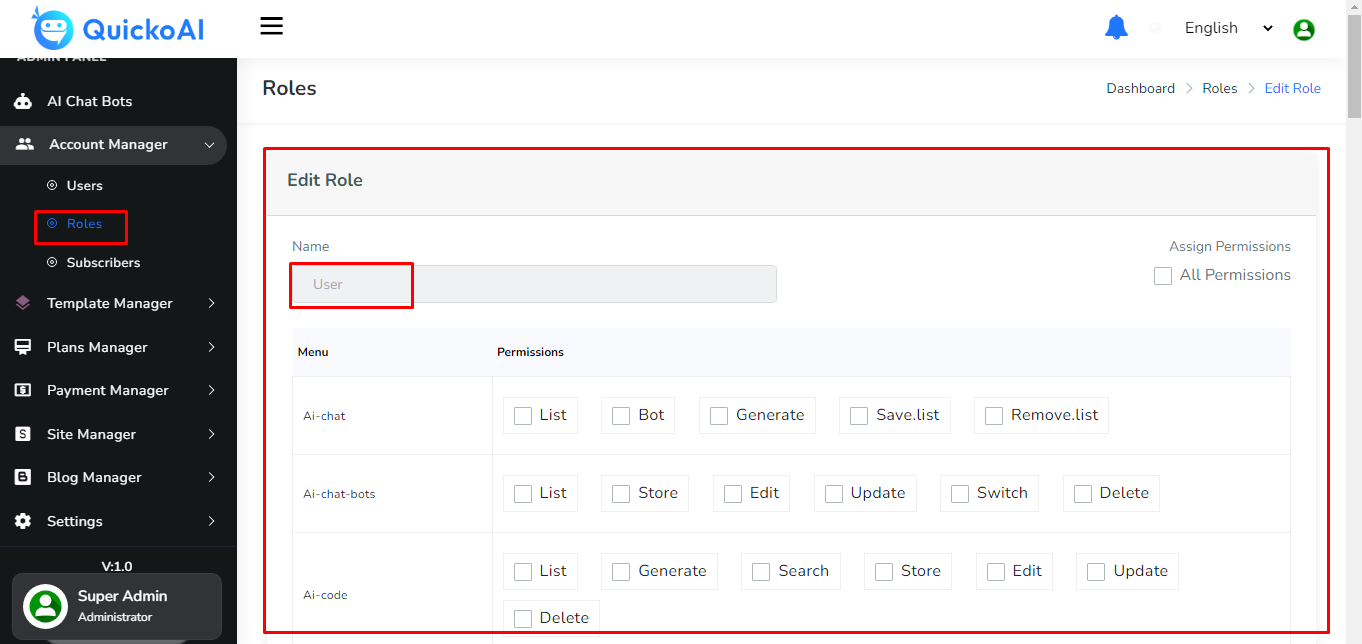
Please add “User” role permission otherwise the user can’t access the site properly.
Important Note:
Don’t add all permissions for “User” role (Recommended)